How To Find an Installer for Your WamBam Fence

The beauty of our fence is that it’s very DIY friendly, which means the average homeowner can install our vinyl and aluminum fence with a bit of time and determination. However, we do have customers who want our fence but aren’t able to install it themselves due to time constraints or health issues. We don’t have a dedicated installer network per se, but we do have many customers who have found installers with relative ease in their local communities.

Who to Seek Out

Our customers have the most success having a landscape company, contractor, or general handyman install their WamBam fence. In our experience, anyone who is somewhat handy and can read instructions can figure out our aluminum and vinyl fence system installation with relative ease. If you rent your installer a gas post pounder, he will probably save a lot of time on labor. The labor savings should more than pay for your rental.

What About A Professional Fence Installer?

While professional fencers do a fine job of installing fence, often they require that you purchase their product. Their installation prices also tend to be higher because they have invested in a lot of equipment like power augers, which drives up the price for installation. Our fence system doesn’t require expensive equipment to install, and our pricing is very competitive for the quality of fence we offer, so in many cases it doesn’t make sense financially to get a professional fence company to install your WamBam Fence.

To find a local handyman to install your fence, we suggest the following:

1. Ask friends and family for recommendations.
2. Appeal to your social networks for recommendations.
3. If you have a membership to Angie’s List, search for a handyman in your area who has a high rating.
4. Other sides like Yelp or HomeAdvisor.com can be useful as well to find contractors.

When Choosing a Contractor, Look For the Following:

1. Good reviews and testimonials to ensure they are a reputable source.
2. Someone who has a valid license and insurance (when applicable).
3. Someone who enjoys DIY projects and trying something new. You want someone who will embrace the no-dig fence system and be excited about it! Show them our videos and installation guides so they understand the system before they commit to the job.
4. Someone who returns your initial phone calls/inquiries promptly and professionally.

Please note that it may be difficult for a handyman to quote a WamBam Fence job with no experience installing a no-dig fence. Many of our customers settle on an hourly rate. While installing our fence is still a big job, it should not take nearly as long as digging holes and pouring concrete. Bear in mind that sometimes underground obstacles can creep up and this can add to the time it takes. This is a potential pitfall for all fence installation- whether no dig or digging holes! If you find a reputable and trustworthy person to install your fence, they will more than likely be fair with their pricing.

20 Nov
Share:
0 0

Installing 89 Panels of Fence Single-Handedly: One Customer’s Story

This thoughtful and detailed review was sent to us by a customer who installed 89 panels of fence in New Jersey. We have copied and pasted verbatim, but we have highlighted what we feel are the critical parts. Great job William! Thanks for being such a great customer!


A customer single handedly installs more than 600ft of fence.

A customer single handedly installs more than 600ft of fence.

I spent several months investigating fencing and this is probably the best purchase I have ever made. I would easily rate this fence and it’s support people as 5 star.

Late in 2013 we decided to get another puppy and after having issues with him wandering the neighborhood we decided we needed to get a better fence. 15 years ago we had installed an electric fence that worked pretty well for most of our other dogs, but it wasn’t working for this new puppy. We wanted to fence in as much of our 1 acre yard as possible to allow the dogs more room to run/play, but I didn’t want to spend a ton of money or get something that would require a lot of maintenance.

I started doing some research and called several local suppliers to get ideas and general prices. To meet our needs almost all of them suggested installing either chainlink, wood, or vinyl. We didn’t like the looks of chain link. The wood would require a lot of maintenance, but all of the ballpark estimates for vinyl were way out of our price range. The vinyl prices ranged from $22,000 to $35,000 installed. Those numbers were definitely out of the budget.

I started looking for other options. I’m no Bob Villa, but I’m competent with home repairs. Maybe I could do this myself? I started looking online at how to videos of installing fences and investigating prices from the big box stores. It was all very confusing as prices/installations were all over the map and I wasn’t always comparing apples to apples.

I decided that to proceed I needed to map out exactly what areas I wanted to fence in and what the town would allow me to do. After several conversations with the town planning board we decided we couldn’t fence in the entire yard, but could fence in approximately ¾ acres of the property. The next step was to get the right measurements so I knew the linear length I needed and could compare each fence type/prices. I used the property survey we had done when we originally moved into the house. From the survey I did some rough calculations to determine I would need 640 linear feet to enclose the area. I still wasn’t convinced we could do this ourselves, but at least I had some real details for estimating purposes.

I went online to the big box store websites to look at fence samples and prices. I saw a few that we liked. Once I determined all of the associated hardware needs for each type I was able to calculate a price per foot. That allowed me do an apples to apples comparison on each type/brand.

Of the options we liked, the prices ranged from $12.50 per linear foot to $23.50 per foot ($8000 to $15000 for my project). The main difference seemed to be the quality of the product, the anchoring systems, and the amount of digging/footing work required. I wanted to compare the quality or each type, but the local big box store didn’t have any of the fences we liked in stock.

Back on the internet I saw that I could order samples from the websites. I ordered a sample of several, but was disappointed with the $8000 fence. It appeared to be rather flimsy and used a plastic anchoring system that only went about 1 foot into the ground. The $14K to $15K fences were better quality, but I soon realized I would need to cement each of the anchors in place. It dawned on me that I would need to dig about 90 fence post holes and fill them with cement adding another $400 to $600 of costs and all of the associate time/labor to dig/fill those holes. I figured I was stuck and that this project was not going to happen. In the next couple weeks I did some more web searches for other options and stumbled across Wam Bam fence.

Their site was very interesting. They seemed to have a ton of options and a lot of information in one place. I spent about 20 to 30 hours in the next 2 weeks reading about their products, watching their tutorial videos, and reading their how to articles. I was convinced that their product was a viable solution. They fit my price range ($13.43 to $17.50 per foot – $8600 to $11,200 total) for the models we liked. Installation didn’t seem too painful (only minor digging!), payment plans were available to mitigate the cost somewhat, and free shipping. But, I was still concerned about the quality.

While they do offer an option to get a sample I decided to spend $150 to order one complete Jiminy Picket fence section so I could see the quality, see how things fit together and get a better idea on whether we could actually handle this install ourselves.I used the website to order and it was real easy. 2 days later I received my packages via UPS. I opened all of the packages and after doing a quick assembly of everything I was thrilled.

Next I had some follow up questions. Was it really free shipping on orders over $2500 or was there some “fine print”? How long was the order/shipping process for a large order? Did I qualify for a payment plan (again any fine print)? I really didn’t want to lay out $10k in one shot if I could avoid it.

I called Wam Bam and talked to Linda and Lisa. Lisa worked with me on the dimensions of my project and asked about any issues I anticipated. I discussed my concerns regarding a severe slope on one side of the house and that we wanted the fence over the top of a railroad tie planter on the other side. She had me email pictures of any potential issues so we were on the same page.   She took all the measurements and put together a quote for 89 fence panels, 2 double gates, 1 single gate, 4 surface mounts and all of the assorted finishing pieces. She indicated that if I over ordered they would take back any extra pieces and issue me a refund/credit (less shipping charges).

I then talked to Linda to go over the financing part. She said I could finance the purchase with a 15% down payment, and 12 equal monthly payments for the rest as long as I had good credit. I asked if I needed me to pull my full credit report for them to review or if they just needed a FICO score. I told her that I carry a Discover credit card that includes my monthly FICO score and asked if that would suffice. Linda indicated that they didn’t take Discover as payment, but if the listed score was over 720 that they could accept a copy of the statement as proof of my good credit and I wouldn’t need to pay to pull a credit report or join some credit site to get the verification. I emailed her a copy of my last Discover statement and she sent me the simple 0 percent financing credit contract. Amazingly it was in English, not legalese!.

Once I co-ordinated my vacation time I called back to place my order. After placing the order it was shipped via a freight carrier 3 days later and was a tough delivery. I got 3 skids of from 1500 to 1800 lbs each (about 400 boxes).   The trucker and I spent 3 hours unloading the shipment. We even dropped some of the boxes while unloading. I was worried that some parts were damaged, so I called Stephen @ Wam Bam and he said they would replace any parts that got damaged. I think 3 or 4 vinyl posts were damaged and they were quickly replaced at no cost to me. In hindsight if I had to do this again on a large project I would probably spend the money from an external company to rent a fork lift to unload the shipment. That would be a lot of time saved and money well spent.

It would be several weeks before I could start my project, so I had previously coordinated with Stephen to have the gas post pounder shipped after the initial material shipment.   It arrived a couple days in advance and ended up being a real back saver. I couldn’t imagine using a manual post pounder for 90 posts in our rocky NJ soil. I had some issues with the post pounder operation, but Stephen @ Wam Bam and Skidrill worked with me to get a replacement shipped.

Once I got the hang of it the posts went pretty quickly, but it still was a lot of work. I can’t imagine how long it would have taken me to do them all manually! This is definitely a 2 person job, but if you’re resourceful you can do it alone like I had to. It just took more time.

I started my anchors from 1 corner of my house. I followed the instructions to get 1 section fully installed, then used a bottom rail as a spacer to determine distance between anchors. All told it probably took me about 45 hours to install all of the anchors by myself. I did the entire process in phases.

1, I installed all of the anchor levelers and put all of the vinyl posts in place.

  1. I then installed all of the top and bottom rails.
  2. Next was installing all of the pickets.
  3. Once those were done I leveled all of the bottom rails, cut 2 spacer pickets so I could make sure all of the sections were uniform, and screwed in the toprails/bottom rails/ and pickets.
  4. The last step was to glue on all of the pickets caps and glue on the post caps.

It took me another 200 hours of evening/weekends over the next several months to complete all of the other tasks.   If I had dedicated help like I had originally planned the project would have probably taken about 100 hours total. All in all not a bad tradeoff to save $12k to $25k!!

I did run into a couple problems where somehow the distance between anchors was too short, but cutting the top/bottom rails was pretty easy with a saws-all. I was in constant contact with Stephen and he always seemed to have solutions or ideas on how to remedy any issues. Support was always available and Stephen even gave me his cell number if I needed help after normal hours. When has any other customer service done THATt???

I also had to remove/reposition a couple anchors along the way. I expected this was going to be a major problem, but to remove them I used a plumbers pipe wrench

After rotating the wrench/pipes about 6 or 7 times I was able to pull the entire pipe out of the ground with a little effort. I can’t imagine having to do that with a post that was cemented in place!

All in all this was a great buying decision. It wasn’t an easy or quick process. It was time consuming, but it was well worth the effort, and the gas post pounder really helped. I can’t imagine lugging 50 lbs of cement to each of 90 anchors. I got a great sense of accomplishment knowing I did 90% of this on my own and it was a real pleasure working with all of the great folks at Wam Bam. They are true professionals and they all made each step in this project much more manageable.

If you would like to contact me directly to discuss my experiences I have given Wam Bam my permission to provide my email address and phone number.

Sincerely,

William Harke”

Great Job, William! You should be very proud of yourself.

Great Job, William! You should be very proud of yourself.

How do I make my fence panels fit into my fence line?

Probably the number one question we get is along the lines of “How do I make my fence panels fit into my fence line?” or “Can I cut the panels to fit in my fence run?”

The answer is YES! It’s rare when your yard works out so perfectly that all your fence panels fit perfectly to cover the linear footage that you need. We address how to equalize your panels in our knowledge base. There are essentially 3 ways to handle this scenario. To read more, see the article here.

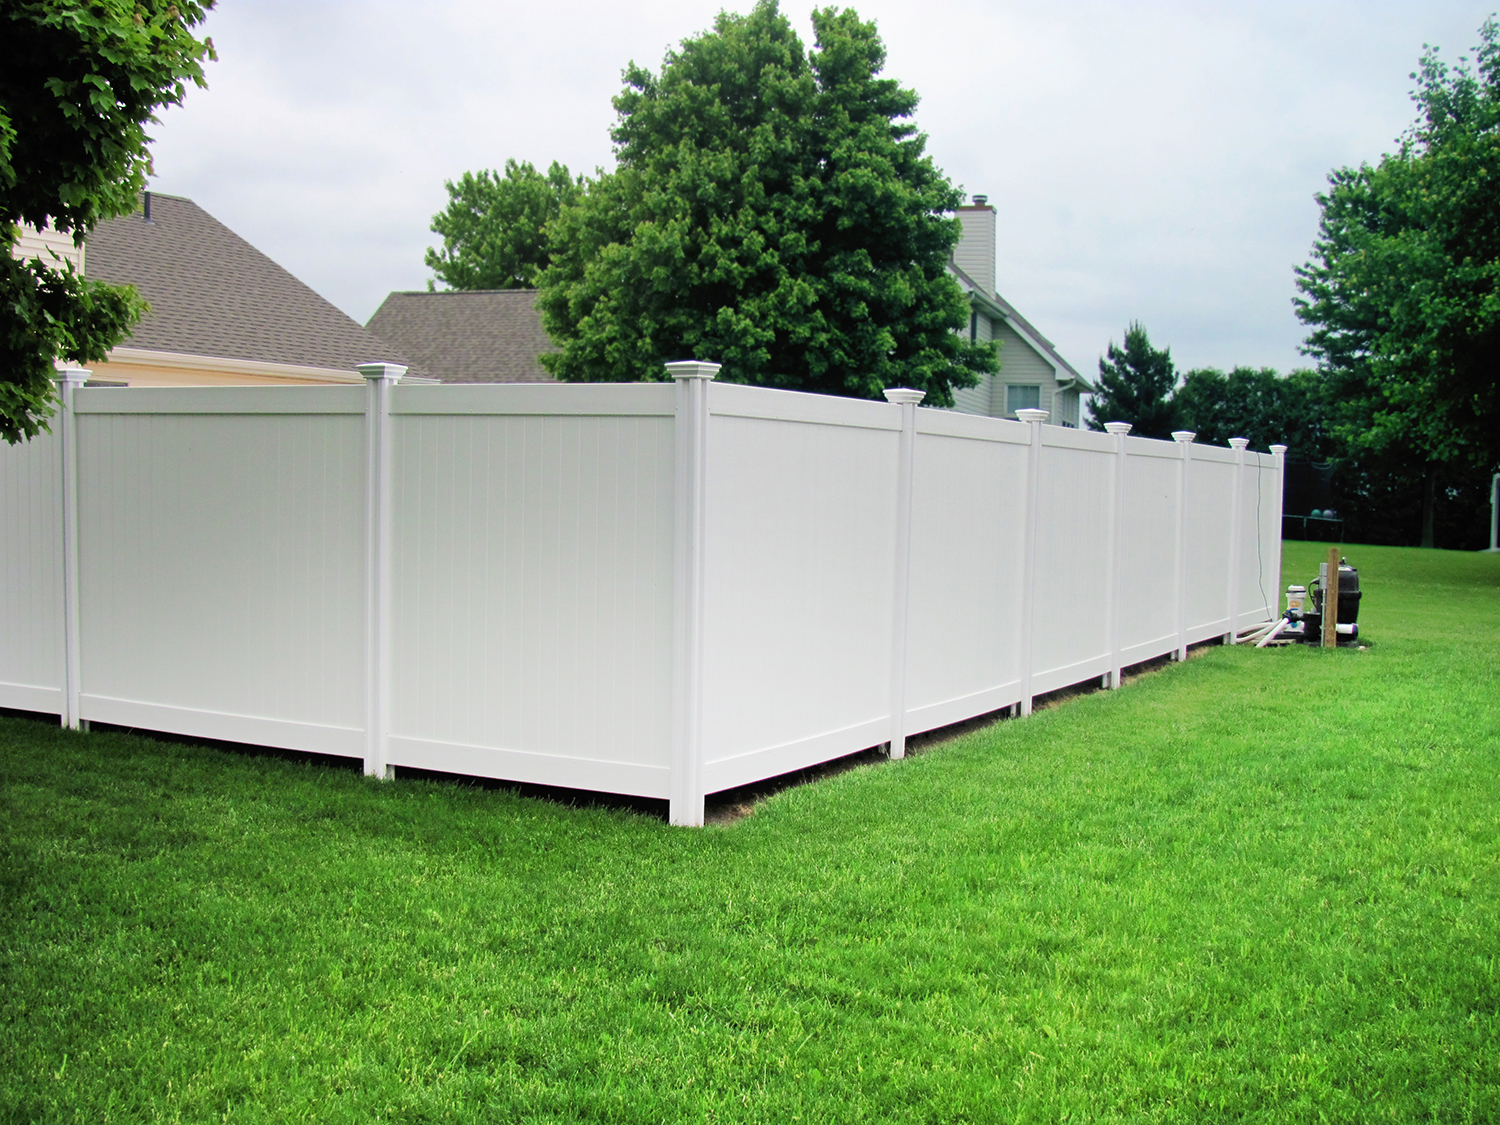
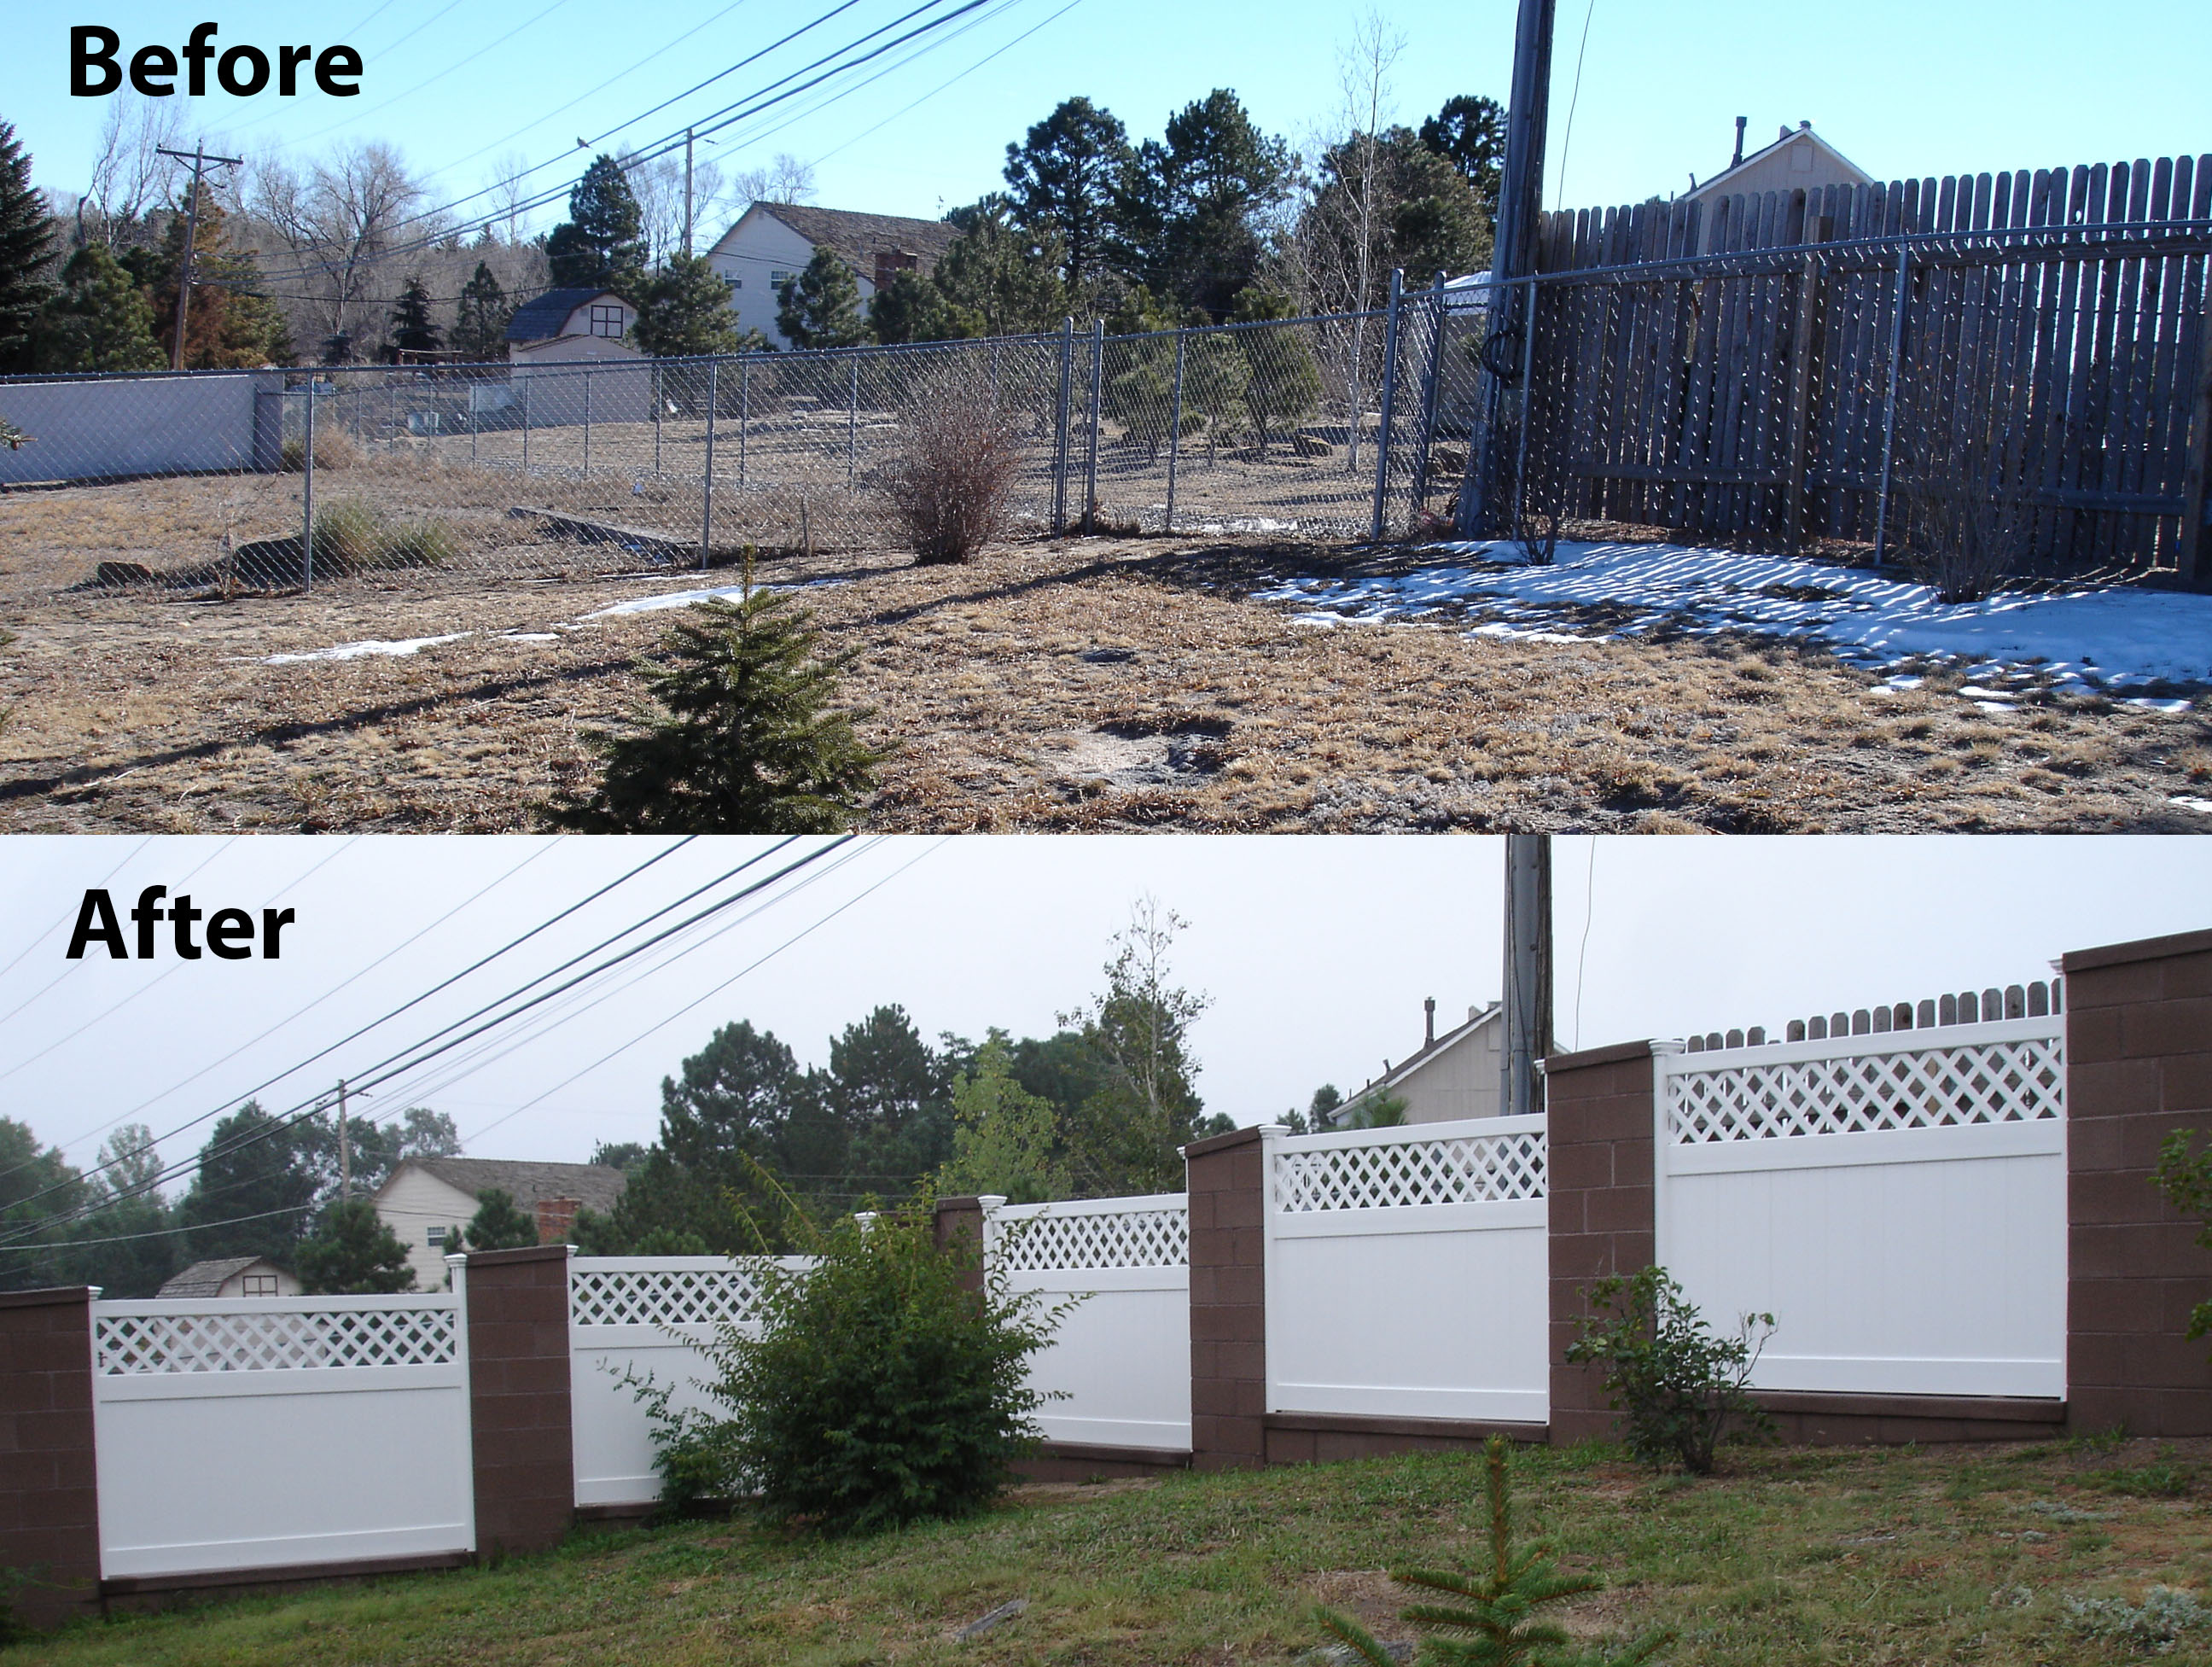
This vinyl privacy fence has been equalized

This vinyl privacy fence has been equalized

24 Oct
Share:
0 0

Pool Fence Just in Time For Fall

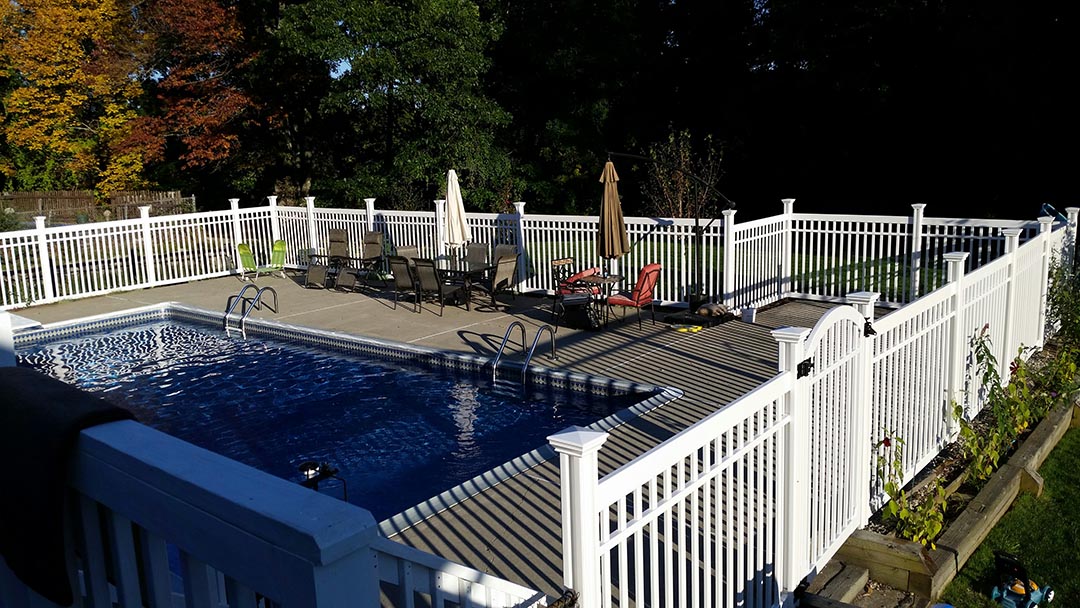
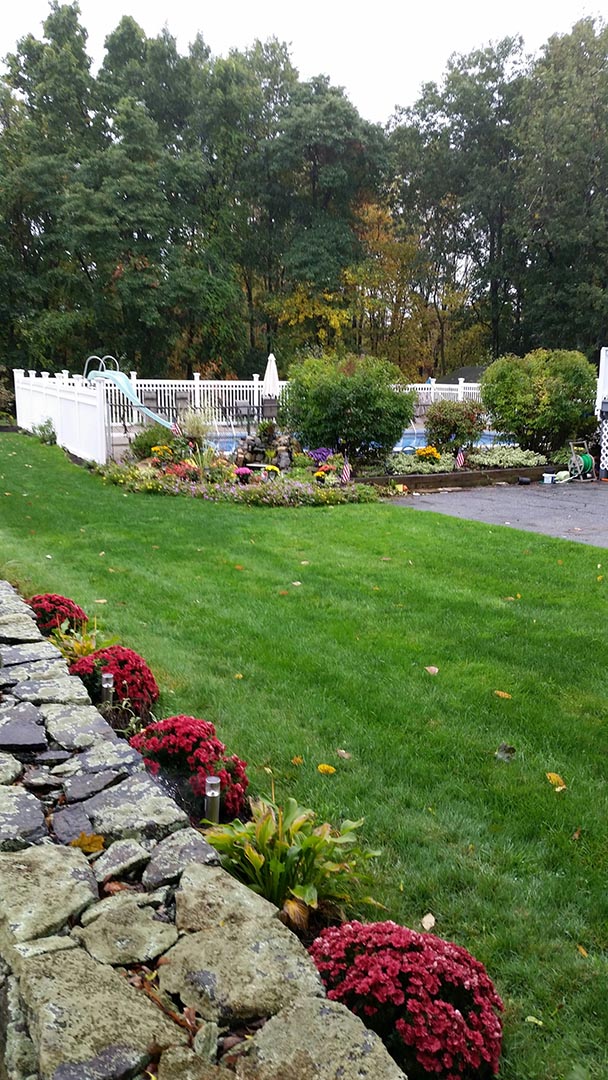
A pool is a great addition to any backyard, but for true safety and peace of mind, one needs to consider a pool fence. Our customer Brian in the northeast did a great job installing his vinyl pool fence, and installed it before Old Man Winter came howling through. He captured the beautiful northeast leaf foliage in this picture:

The Nervous Nelly Pool Fence Looks Great with the Fall Foliage

The Nervous Nelly Pool Fence Looks Great with the Fall Foliage


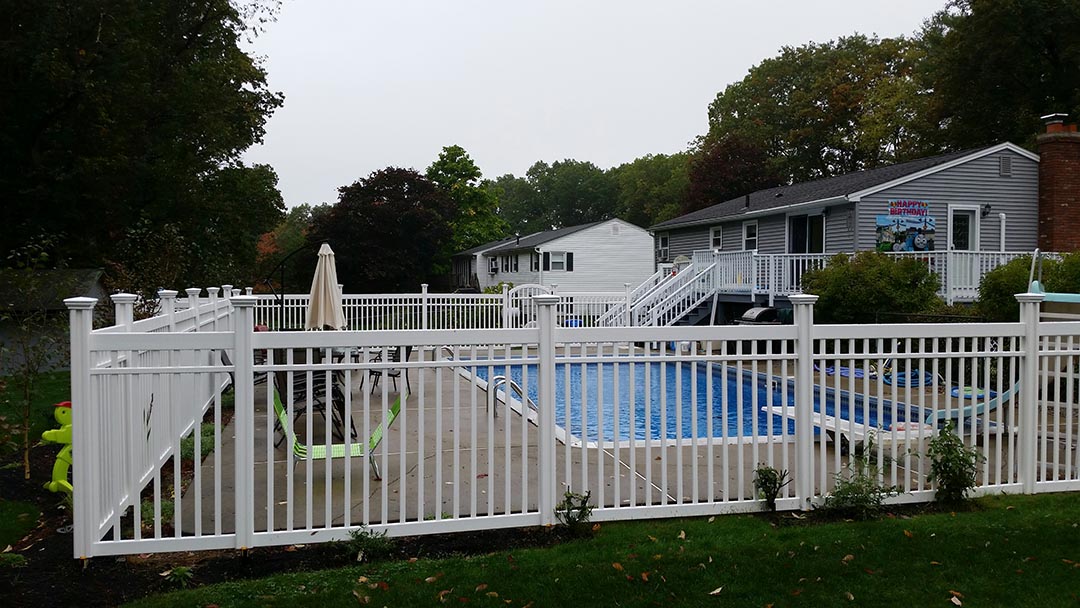
A close up of the Nervous Nelly Vinyl Fence

Keeping the pool safe with a vinyl fence


Beautiful landscaping makes the backyard complete!

Beautiful landscaping makes the backyard complete!

Follow us
Categories