by Denise
We sell some no-dig fence products through resellers such as Amazon.com and Homedepot.com. These products do not have the special WamBam architectural grooved post. Because of this, if you need to angle your fence line at degrees other than 90, the process is different for these products. The below applies only to the following products:
BL19101 (No-Dig Nantucket Vinyl Fence)
BL19103 (No-Dig Sturbridge Vinyl Fence)
ZP19002 (Zippity Newport Vinyl Fence)
! To angle products featured and sold on wambamfence.com, please visit this article.
How To Angle Fence Posts That Do Not Contain a Groove:
Purchase Separately:
- Galvanized 3 1/2” Butt Hinges from Hardware Store
- Vinyl Brackets may be included with your fence kit (depending on the fence style) or can be purchased separately here
- A can of white spray metal paint
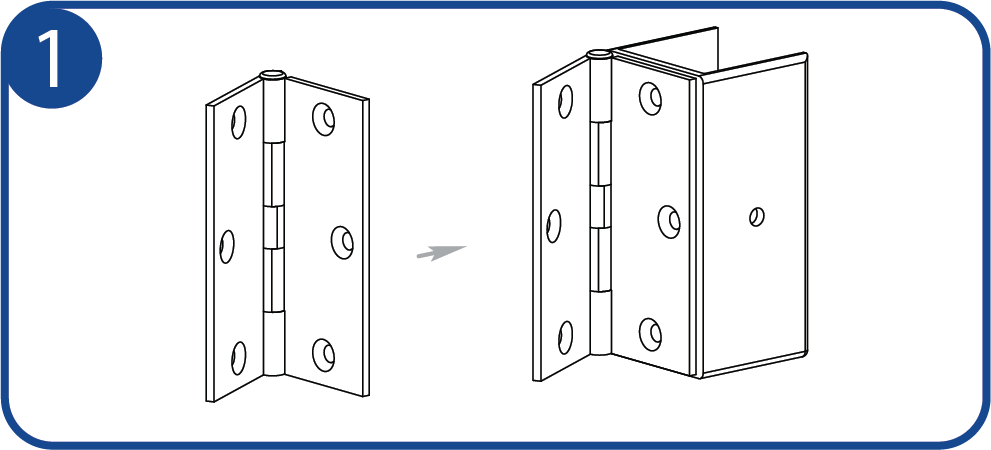
Follow the paint instructions and coat the hinge with the white paint. Align metal hinge and vinyl bracket.
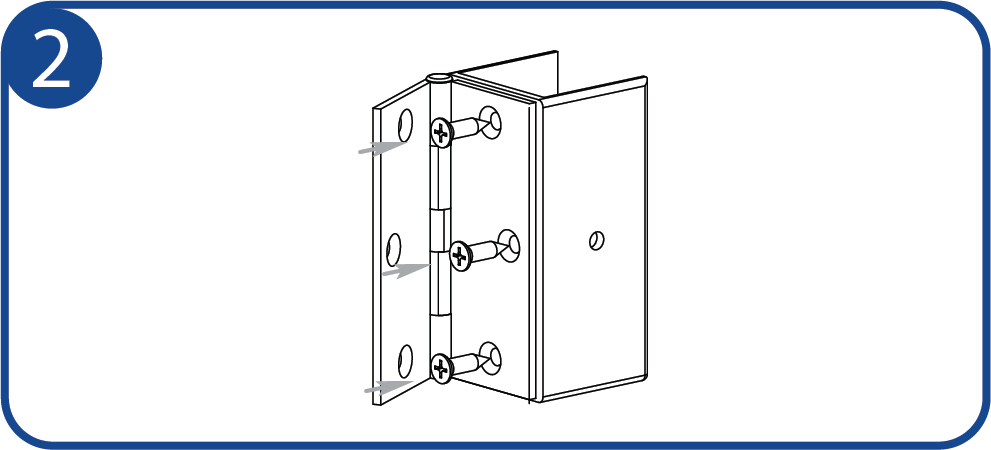
Fasten the hinge to the backside of the bracket (hole pattern on hinge will vary from illustrated).

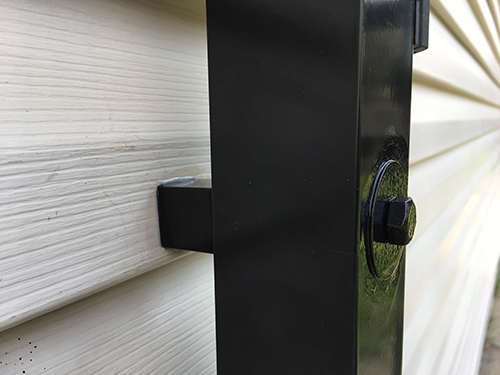
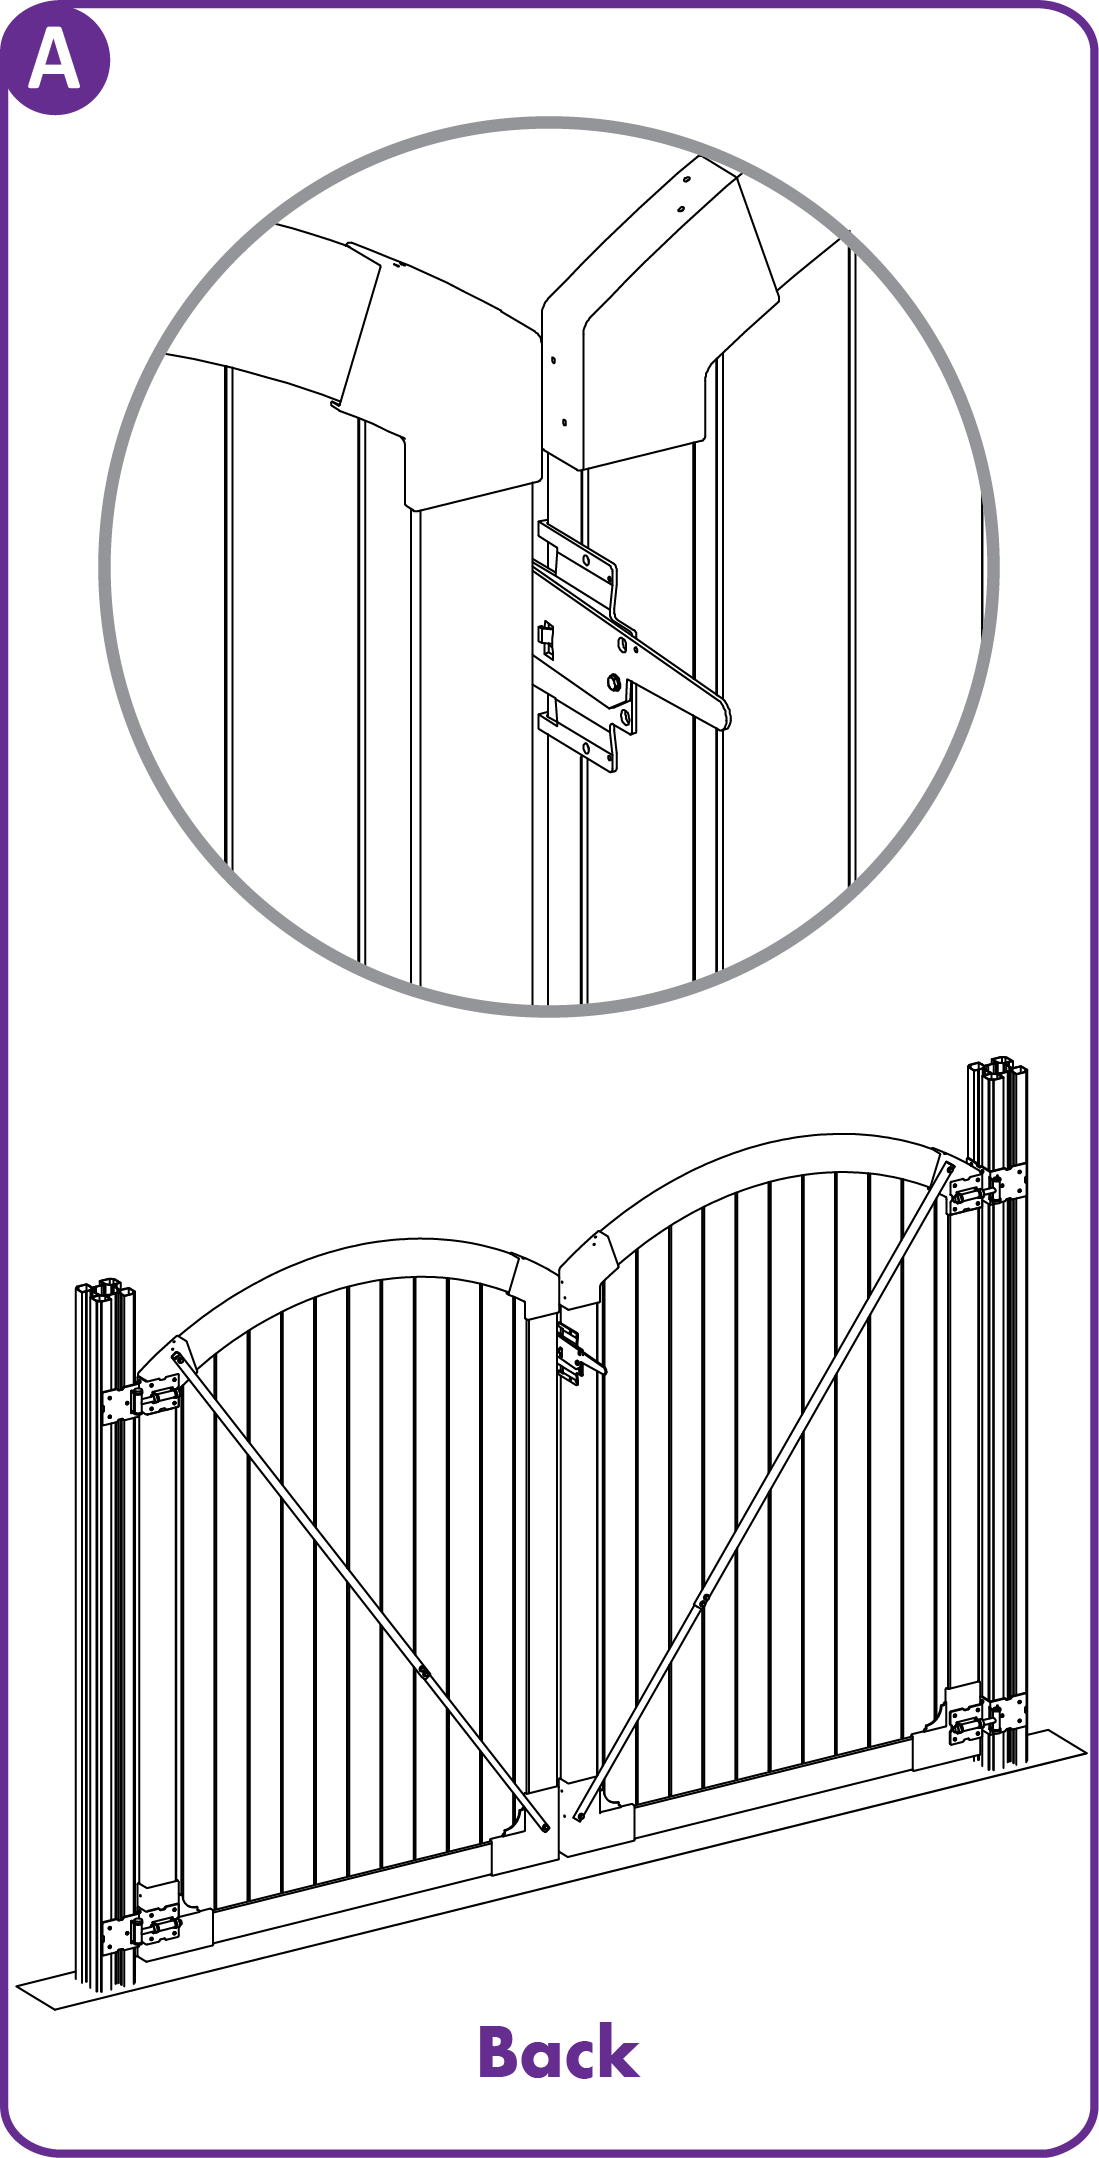
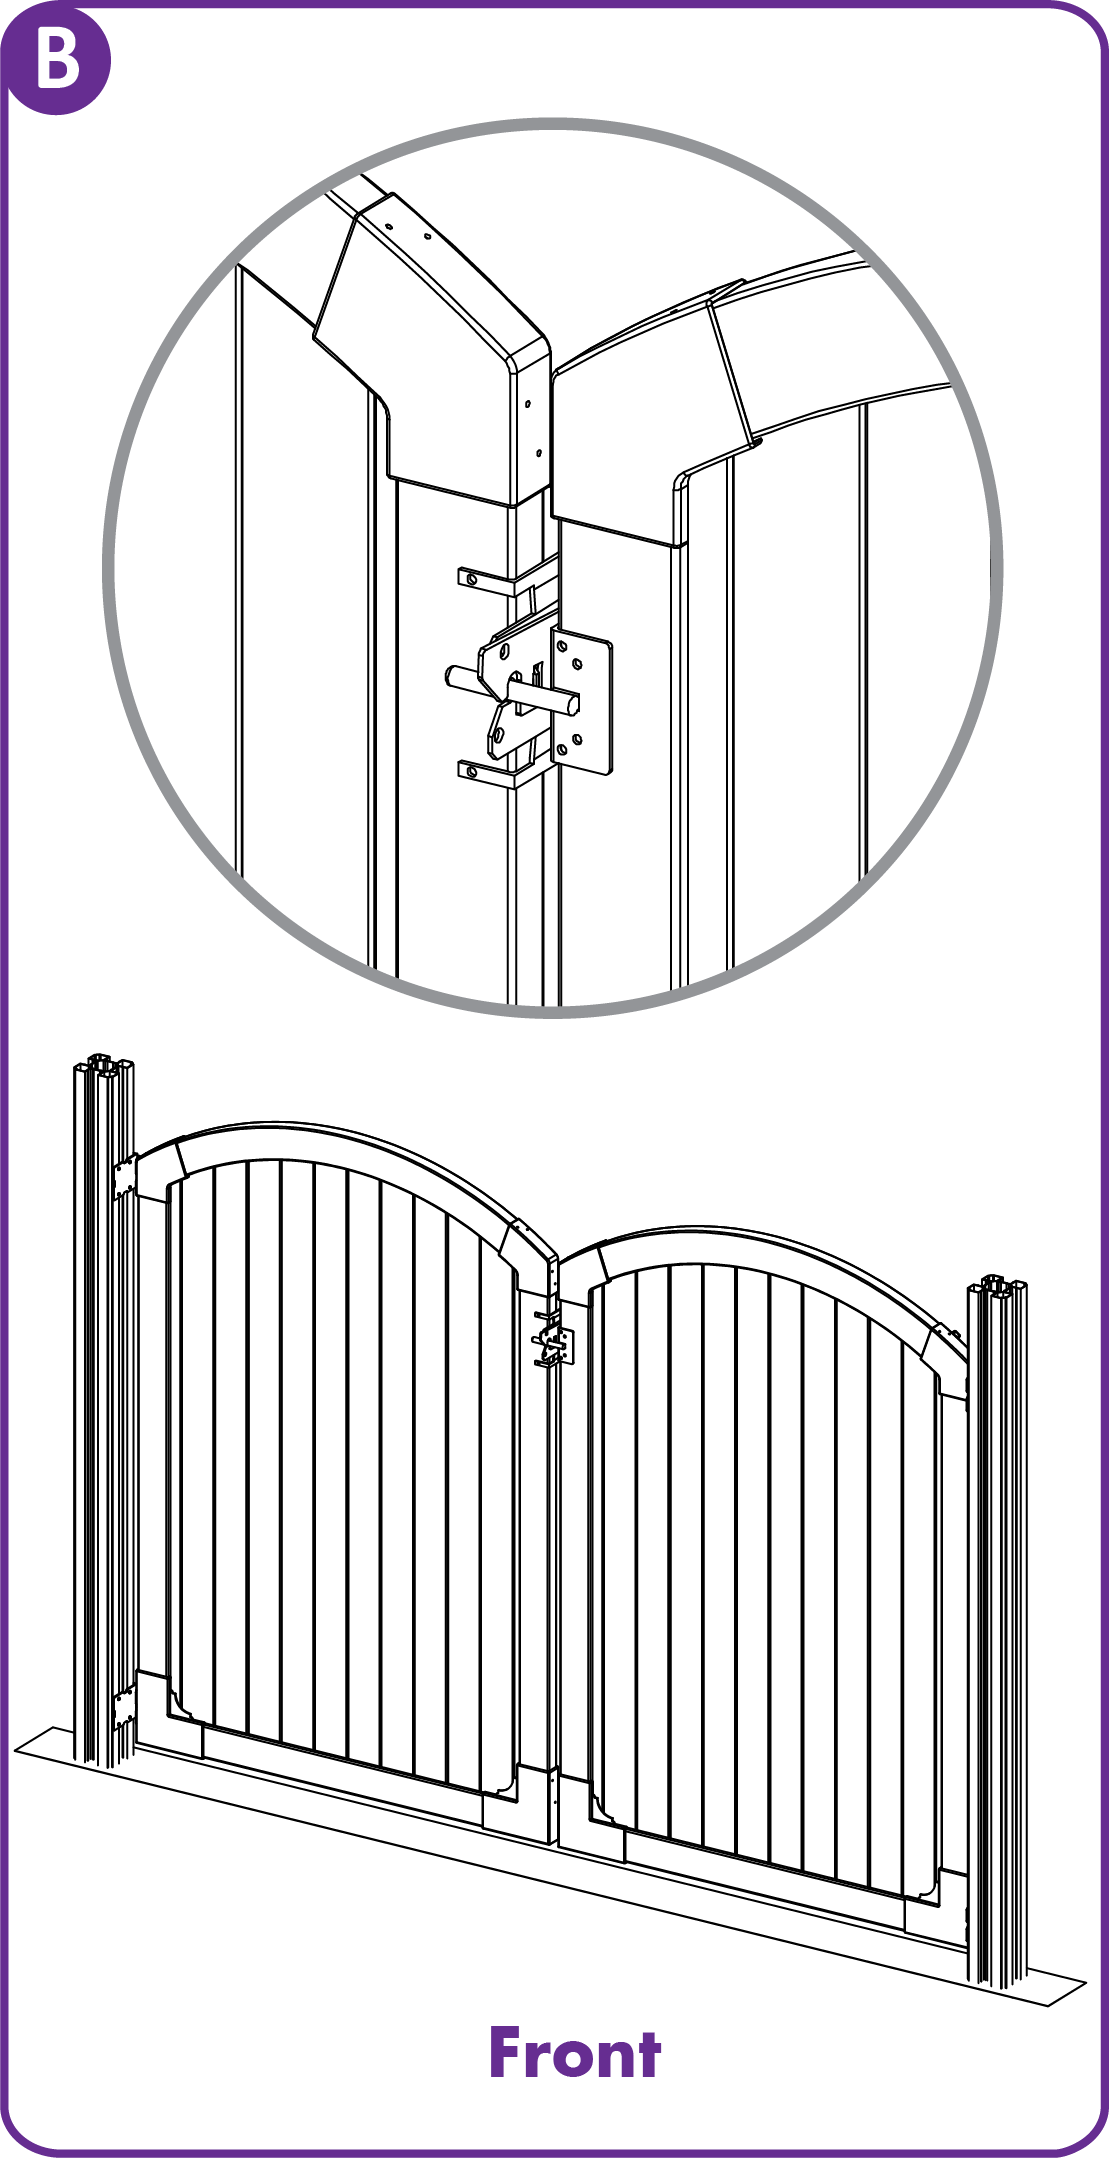
Identify the location of the hinge on the post.
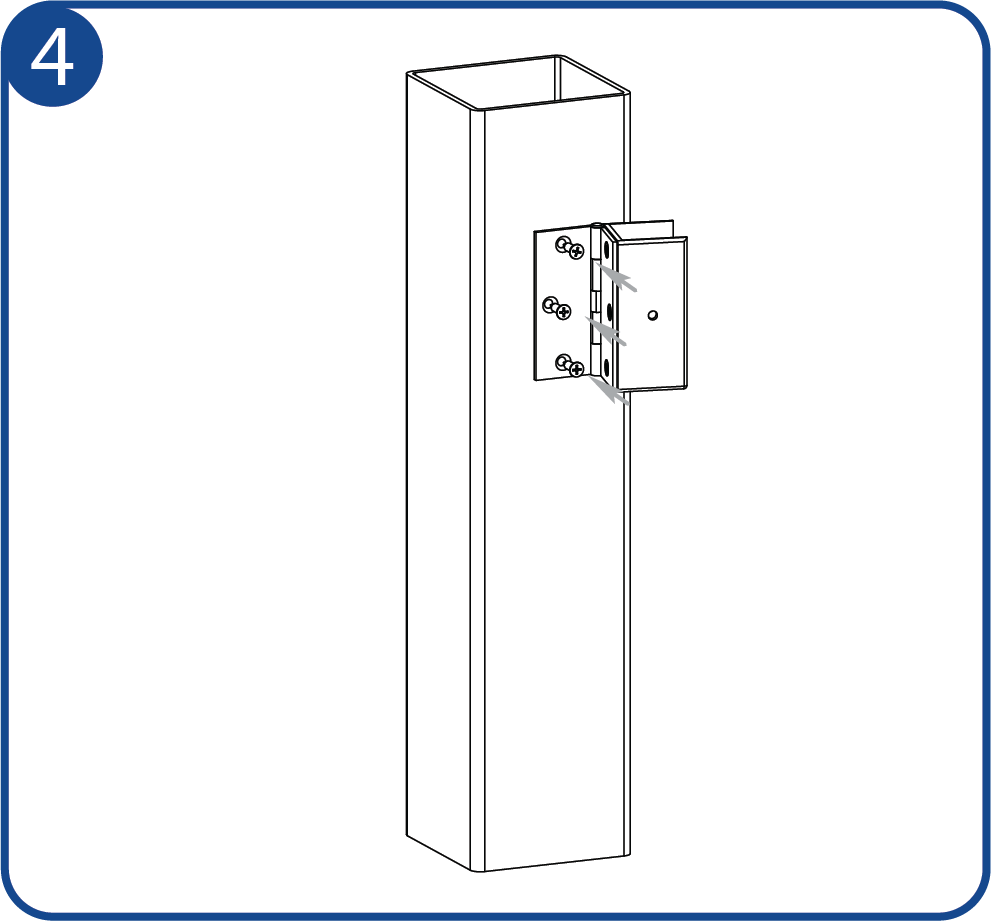
Fasten the hinge to the post using the screws that come with the hinge.
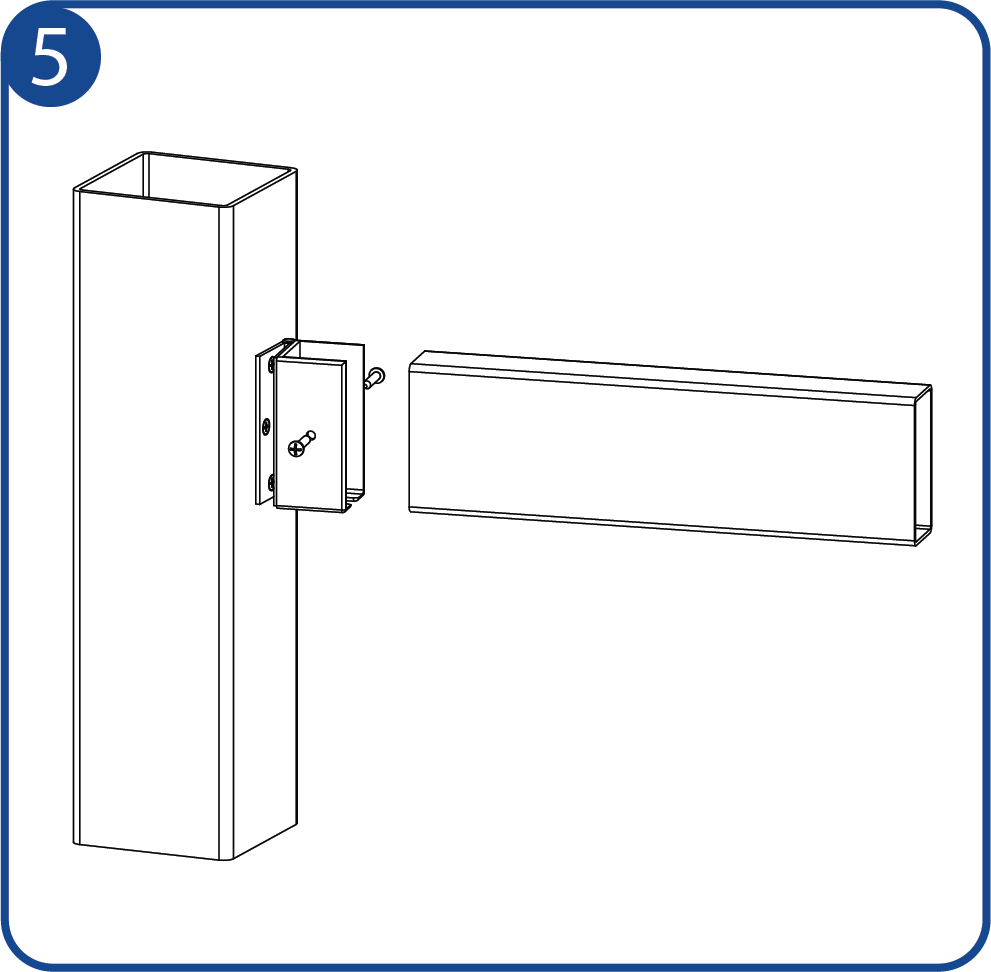
Attach and fasten your fence rail to the hinged-bracket as shown and proceed to do the same of the other end of the rail.
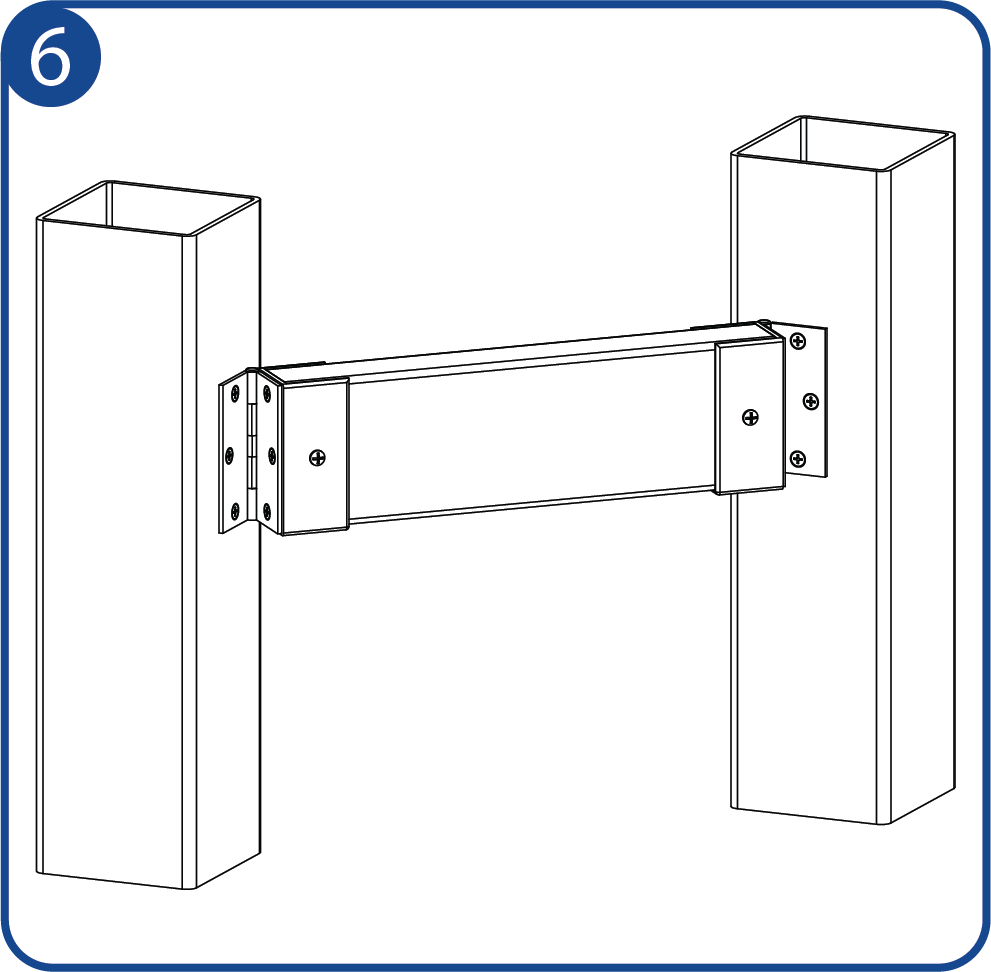
Final installation shown. The angled bracket technique will accommodate practically any angle between the posts.