Our no-dig semi-permanent fences are designed to be installed into the ground using the included staking system. When trying to install them onto a pad of concrete or wood, then it will just take a little extra customization.
*Note: If you have the All American or Newport Fence and would like help with surface mounting them, check here.
Dealing with the Stakes:
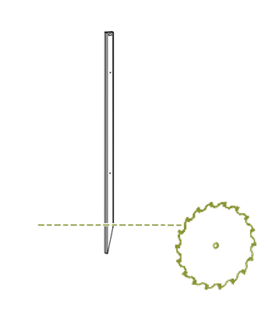
For most of our no dig semi-permanent fences, the stakes are part of the post and will need to be cut off before mounting them to a flat surface. To cut off the stake, we recommend using a circular or reciprocating saw with a fine-tooth blade.
For the several fences that have the no dig stakes as a separate part, you can skip the step in the guide where they are installed. All our ground stakes are 100% recyclable. Please consider recycling, donating, or repurposing unused ground stakes.
- Materials to purchase:
- L Brackets – We recommend purchasing stainless steel or powder coated brackets.
- Check the specifications of the posts in the first few pages of the Privacy Screen installation guide to see what size L Bracket and nut and bolt will work for your application
- Nuts, washers, and bolts*
- Wedge anchors (concrete) *
- The size of your hardware will depend on the brackets purchased. Follow the recommended sizes with the L Brackets
- L Brackets – We recommend purchasing stainless steel or powder coated brackets.
How to Mount:
The L brackets can be installed on the inside of the posts using washers, nuts, and bolts. We recommend using at least 2 L brackets per post.
- Mark your drill locations
- Consider the orientation of the posts when joined to the next panel
- The L brackets can be installed on the inside of the posts using washers, nuts, and bolts. We recommend using at least 2 L brackets per post.
- Using the L brackets as a guide, mark the posts where the hardware will be installed
- Drill into the posts
- Using a power drill, pre-drill the holes on the marked locations on your post for your bolts.
- Attach the brackets to the posts
- Position the bracket on the inside of the post for the best functionality and aesthetic appearance.
- Thread the bolt from the outside of the post, through a washer, the post wall, then the bracket. If the bolts purchased are too long to do this, drill through the other side of the post and have the bolt going through two sides of the post.
- Secure a washer and nut onto the bolt to fix the L bracket onto the post.
- Repeat this process with each L-Bracket
- Attach the Brackets to the surface
- Once the L brackets are affixed to the posts, place the screens in the desired position and mark the ground where the L Brackets will be mounted.
- Follow the directions included with the mounting hardware to mount the brackets to the ground.
Free Shipping
On Orders Over $3000Let Us Help!
877.778.5733Payment Methods
All Major Cards, Google Pay, Apple Pay & KlarnaFree Shipping
On Orders Over $3000Let Us Help!
877.778.5733Payment Methods
All Major Cards, Google Pay, Apple Pay & Klarna
