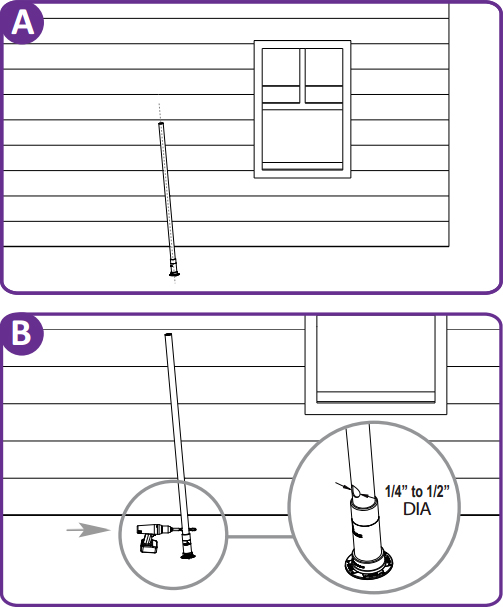
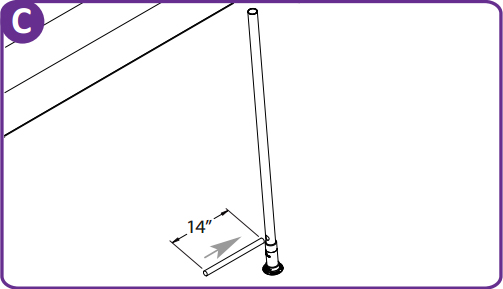
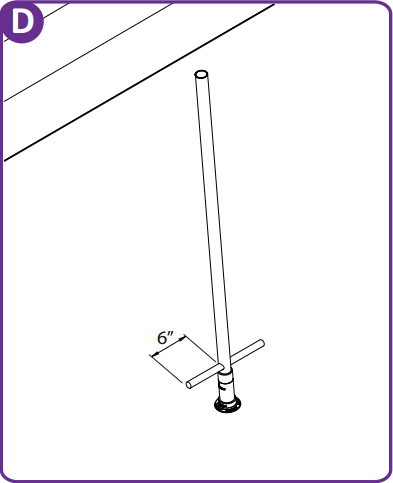
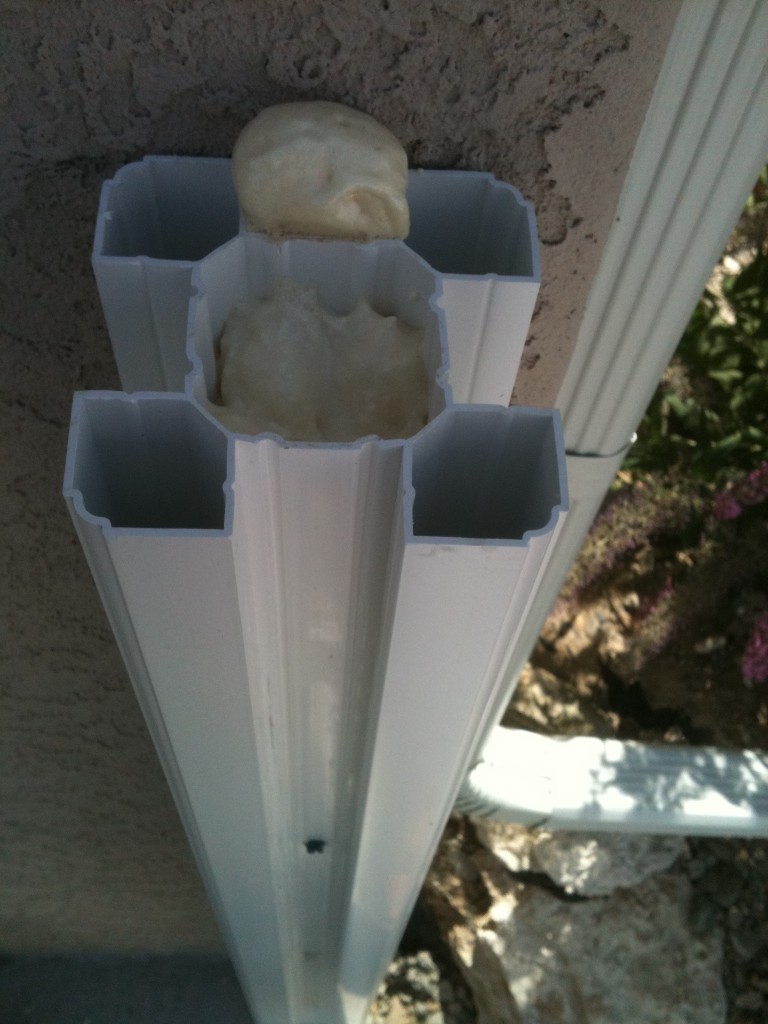
To affix a panel to a wall, you will need to purchase vinyl fence brackets. Please see the spec drawings of your fence style to determine the size of brackets that you need.
A. Place wall mounts evenly with fence rail spacing and secure with screws.
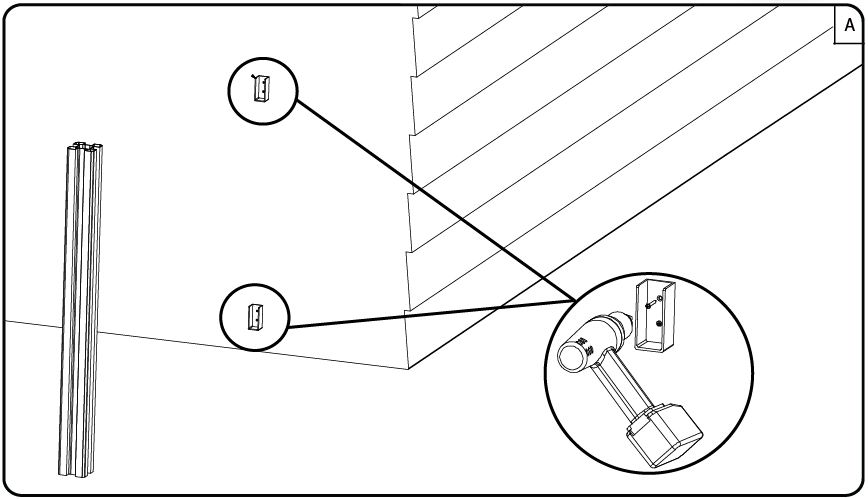
B. Install fence panel rails into wall mounts and secure fence rails with screws.
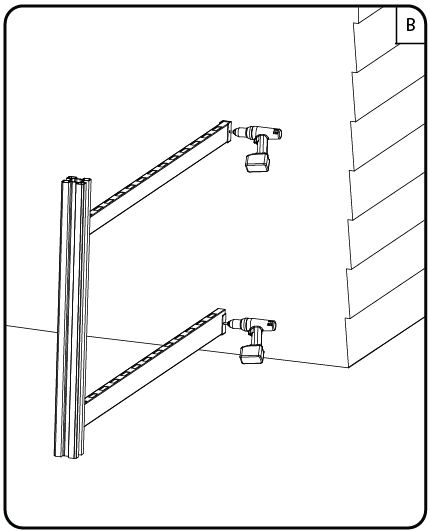
C. Finish installing the rest of the fence panel as a regular installation.
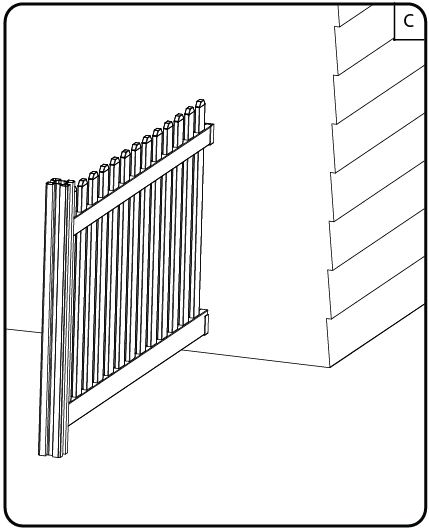
How do I mount my vinyl fence rail to a pre-existing wall or fence?
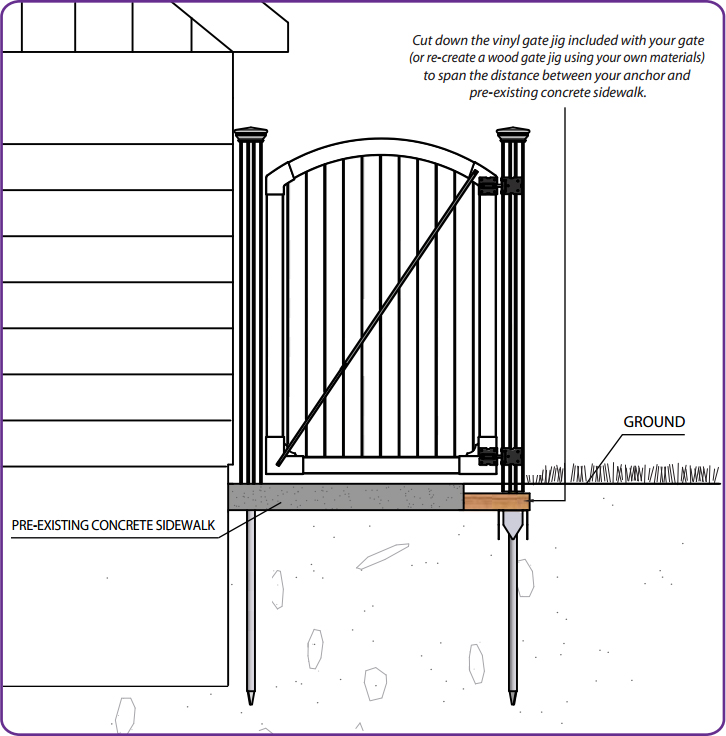
Installing a Gate Without a Gate Jig
If your sidewalk gets in the way of using the provided gate jig, you can either cut down the provided vinyl gate jig or re-create a small gate jig out of 4×4 wood (see gate instructions) to span the distance between the anchor and the concrete as necessary. The jig can simply be be pressure fitted against the concrete to hold its position.
What about ground that has been backfilled?
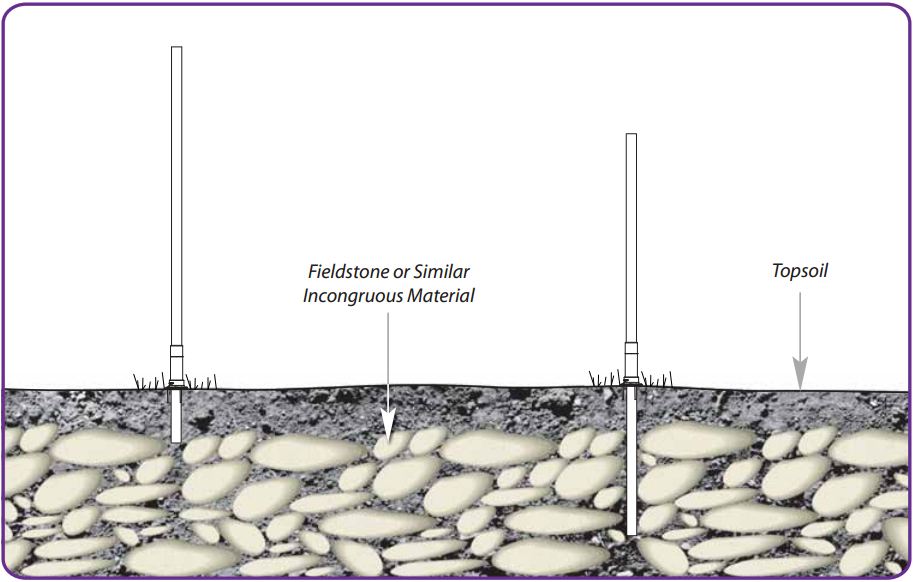
If your ground has been backfilled with chunks of concrete, field stone or any other materials that can create air pockets under the ground, the WamBam system is not the way to go.
Our system is ideally designed for virgin soil like clay. Underground pockets of air created by incongruous materials will not provide enough structural integrity for our pipe anchors. If you ground has been backfilled with clean fill, but has not been mechanically compacted or given enough time to settle, this could pose problems as well. In these cases we would recommend you dig traditional concrete footings.
Working around a tree in your fence run
Sometimes it’s unavoidable to have an obstacle such as a tree in your fence line. Here is a tip showing what one customer did. However, we must caution that trees do grow. Please be really careful when attempting something like this, and leave room for the tree to grow. You would not want a growing tree to buckle your whole fence!
Important Information About Fence Conforming to Pool Code
We have designed certain styles of our fence to be ICC code compliant, which is an industry standard that meets the safety requirements for most municipalities and HOAs.
For swimming and other child safety gates, most safety standards specify:
a) Your fence height needs to be between 4’ and 6’ high minimum
b) Your gate needs to open outwards away from the pool
c) Latch releasing mechanism to be minimum 54” off the ground.
*The Plain Jane Gate and Slim Jim Gate will require a specialized latching system to meet pool code. Use MagnaLatch Top Pull Hardware (not included) and Captain Morgan Post Caps Only.
Magna Latch Top Pull Code is # ML3TPKA – MagnaLatch Series 3 Safety Gate Latch – Top Pull – Black
There are some counties that have their own pool code. It’s important that you confirm pool code requirements with the appropriate authorities in your area before you purchase.
Before you begin your fence project
1. Read your installation guides.
We know you hate reading instructions- we do too! But please, make an exception for this project. We want you to have the best possible experience installing your WamBam Fence and reading the instructions will ensure this. Trust me, you’ll be glad you did! There’s a lot of great information in our installation guides, and we’ve tried to make it interesting. And relax, it’s mostly pictures.
Having said that, we want to stress that this is a guide. Unfortunately, because everyone’s property is different, we can’t provide a concrete step A, B and C. This guide will help you in almost all situations, though, and remember, we’re just a phone call away! For obstacles and challenges you might encounter, see our “Murphy’s Vinyl Fence Laws Murphy’s Vinyl and Aluminum Fence Laws (wambamfence.com)” guide on how to navigate potentially sticky situations.
2. Realize that this is a big project that will take time.
Time is your friend when installing your WamBam fence. So chill out. Relax. Do a yoga pose. Take plenty of breaks. As we all know, time flies when you’re having fun, so expect to spend more than just an afternoon on this project. If you expect to be able to WamBam your fence out in an hour, you’re mistaken. Yeah, I know your dog and kids are running loose and your neighbor is driving you nuts, but if you take your time, your project will be more successful. Besides, you’re going to be spending half the time you would have if you chosen to dig holes, mix cement, and go the old way…so be happy. Time is still on your side.
3. Pay attention to slopes!
Even if your backyard (or front yard for that matter!) does not resemble a black diamond ski run, you have to think about the slope of your fence line. Is there any? There almost always is, and you need to pay special attention to this in the planning and purchasing stages of your fence. Otherwise the posts you order might be too short. See this article for more information.
4. Practice makes perfect
Remember swinging the baseball bat as a kid, or shooting hoops for the first time? It took a bit to get the feel of it. The first few pipes you install into the ground might be a bit challenging at first, but it will get easier as you get the hang of it. Before you know it, you’ll be WamBam-ing your pipes into the ground so quickly your neighbors won’t know what happened.
Other Stuff You Need to Know
- Draw a sketch layout of the proposed fence lines and logically look it over. If it doesn’t make sense on paper, chances are it won’t make sense in your yard.
- Our online calculator is designed to make it easier for you to determine what you need to purchase for your fence. If you haven’t already used it, you should to ensure that you have everything you need.
- If you’re reading this, there’s a good chance you have a house and subsequently neighbors. Ask one of the handier ones for some help as your project will go smoother and quicker with an extra set of helping hands.
- Make sure you have all the necessary materials, tools and equipment listed here.
! It is crucial that you follow the checklist here before you begin building.
1. Have you contacted local utilities?
This unfortunately is not a laughing matter, but rather one of potentially deadly consequences. You must call before you start to install your fence to avoid puncturing any unseen underground utilities, especially electrical or gas lines. Fortunately, this is made easy for you. Simply call 811 in the US, or visit www.call811.com.
In Canada, click here for a list of phone numbers by province.
2. Have you checked your local zoning laws?
Local zoning laws and Home Owners Associations may regulate the height, style and placement of your fence. Some locations may even require a permit.
3. Are you absolutely sure where your property line is?
Many disputes have arisen from questions about whose side the fence is on.
4. Have you talked to your neighbors?
Your fence will become part of their yard, and you’ll have an easier time building it if you can have access from both sides. Besides, you may get lucky if they decide to share the cost with you.
Final Words….
Believe me, after the past 12 years or so of installing countless fences the WamBam way, the success of your installation is going to depend on three things:
1. Site conditions (And your creativity to work around unforseen obstacles as they come up, because they are gonna come up!)
2. Your personal skill level
3. Complexity of the project
Remember, you are not alone. We love helping make our customer’s lives easier and more fun! Call us. We would consider it an honor to help.
How far do I drive my anchors into the ground?
You should drive your large anchor 42″ into the ground, leaving 42″ above the ground.
You should drive your small anchor 36″ into the ground, leaving 24″ above the ground.
What is the wall thickness of your vinyl?
The thickness of the extrusions (posts, rails and vertical pickets or boards) in your vinyl fence can become an important consideration in your purchase decision. We’re proud to provide this information below and more specifically in our detailed specification drawings which are included in our instructions.
Professional Grade Vinyl
- Vinyl Posts (4 ½ x 4 ½) are .080 wall thickness (the per foot weight of this post is equivalent to a standard square 5×5 at .135 wall thickness because of its honeycomb configuration).
- Vinyl Horizontal Rails (1 ½ x 3 ½ , 4 ½ and 5 ½ ) are .090 wall thickness.
- Vinyl Vertical Boards or Pickets Range between .050 and .060 wall thickness.
Please note that vinyl extrusions have normal tolerances of + or – 10%.
 by Denise