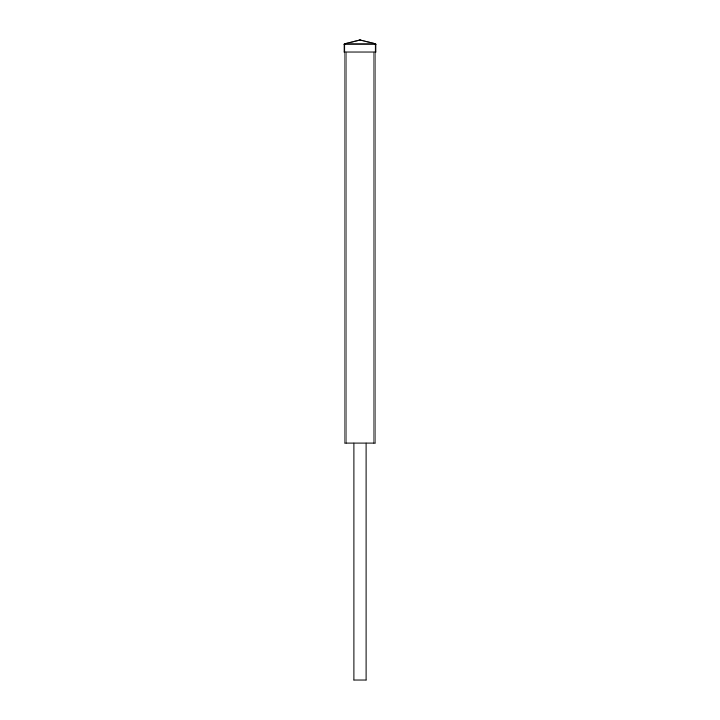
4ft Vinyl Finishing Post
Before You Begin
- Before driving pipe anchors, check for underground utilities. In the US, call 811 or visit www.call811.com. In Canada, visit www.clickbeforeyoudig.com to find your provincial one-call centre.
- You should not need excessive force when assembling components.
- If you hit rock or unstable ground, you can concrete the pipe into place — either during installation or afterward.
Returns: Please let us help resolve any issues before initiating a return. If a return is still necessary, it must be initiated with the retailer where the product was purchased.
Need Help or Replacement Parts?
Our US-based customer service team is available Monday–Friday, 9am–5pm EST.
- Parts Website: https://parts.nychbrands.com
- Email: hmmm@wambamfence.com
- Phone: 704-892-5222 or 877-778-5733
- Text: 704-892-5222
For faster service, have your item number (BL19042) and part name ready. A batch lot number (found on the end of the box) is also helpful.
Compatible Fences
This finishing post completes a fence run — or supports a gate — on these fences. See your fence's guide for panel assembly:
Post Pounder Considerations
Good
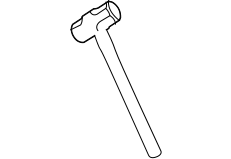
Sledgehammer (10–15lbs)
A workable option if a post pounder isn't available.
Better

Manual Post Pounder (12–30lbs)
Best for projects with fewer than 10 pipes.
Best
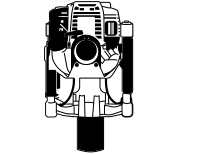
Gas Powered Pounder
The fastest, easiest option for driving the pipe anchor.
Note:
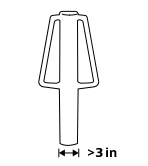
Choose a post pounder with a barrel diameter of 3in or greater. Pounder barrel cannot be longer than 24in.
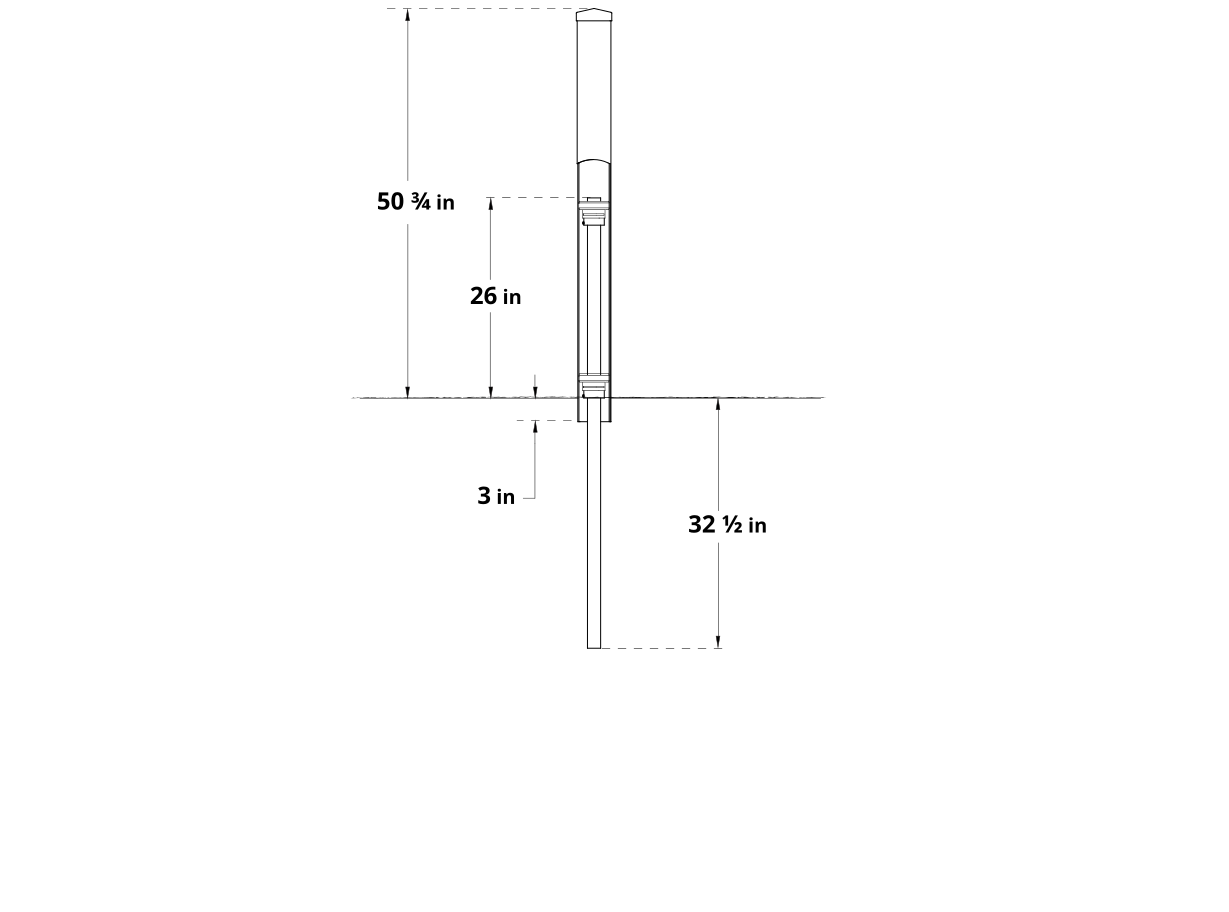
Product Specifications & Dimensions
Required Tools
Measuring Tape
Stakes (for stringline)
Hammer / Mallet (for stakes)
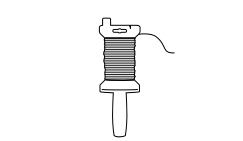
Stringline Reel
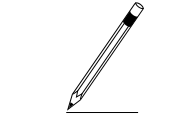
Pencil
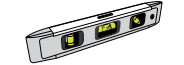
Small Level (for pipe pounding)
Part Identification
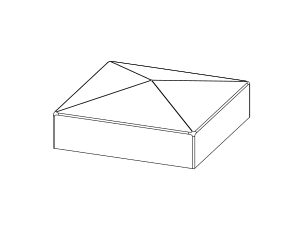
A
Post Cap (1)
B
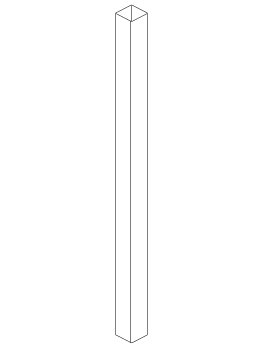
Post (1)
4in x 4in x 53in
C
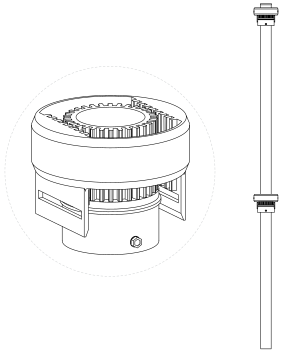
Pipe Anchor (1)
1⅝in D x 58½in L
Step 1: Mark Post Location
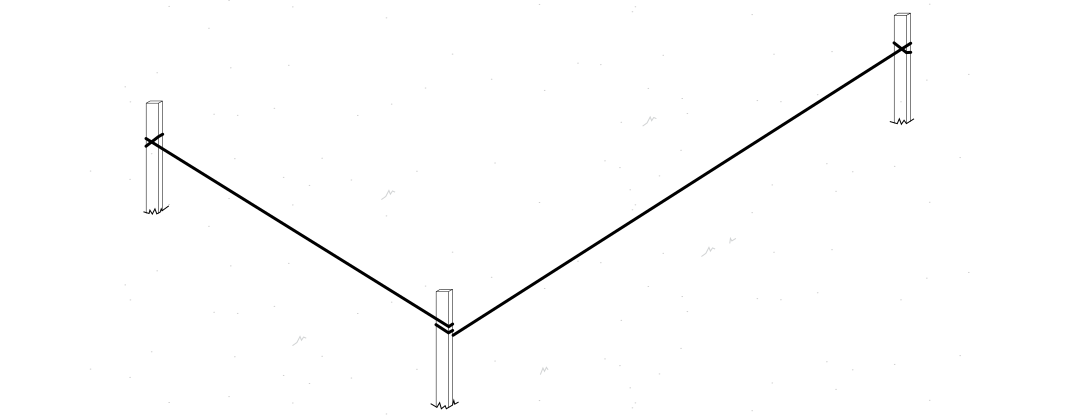
If extending a fence run, run a stringline from the last full post to establish your new post's location. If supporting a gate, mark the post location per your gate's install guide.
Step 2: Drive Pipe Anchor
Parts Required
C x1
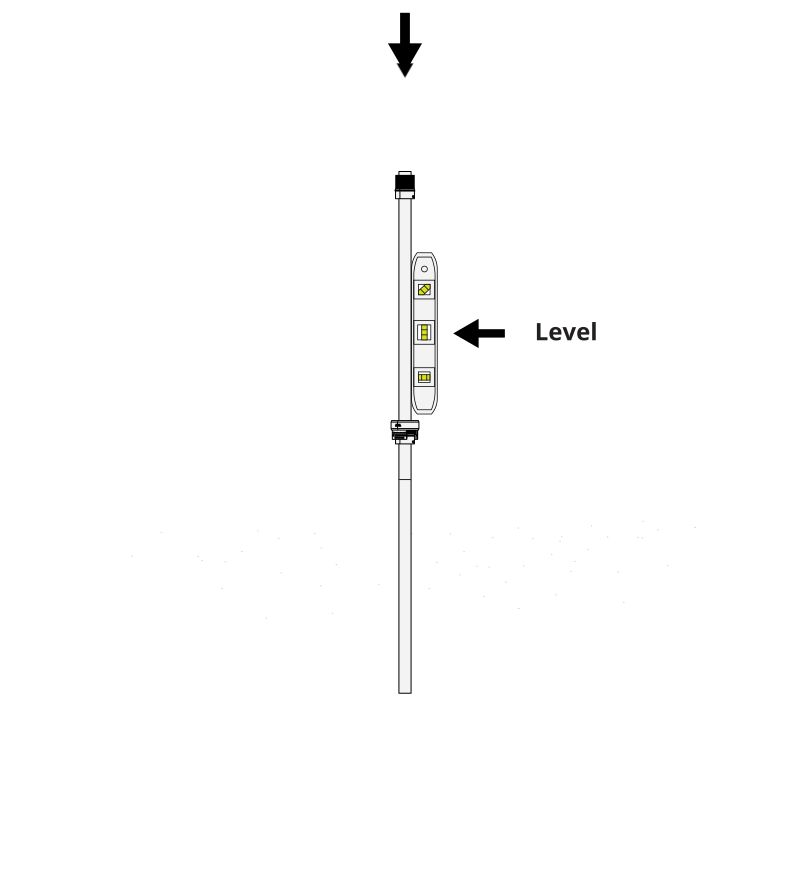
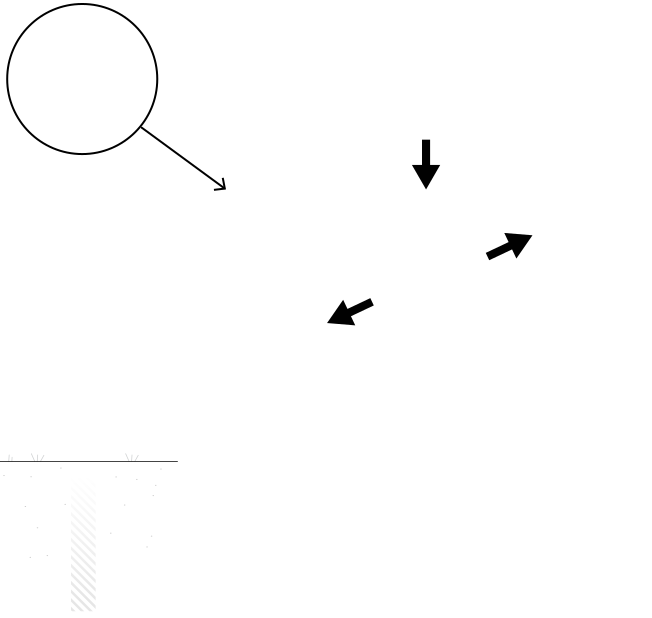
If using a post pounder, remove the top donut and slide it up over the pipe first — your post pounder barrel cannot be longer than 24in. Drive pipe anchor (C) into the ground at your marked location, checking for level every 12in, until the bottom donut touches the ground.
Step 3: Adjust Donut to Level
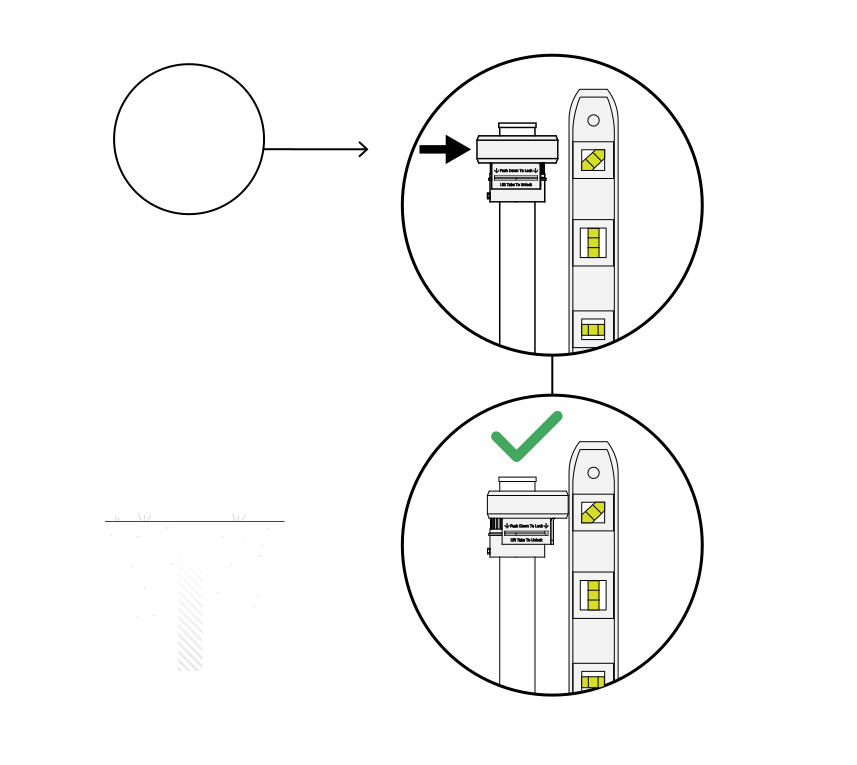
If you removed the top donut in Step 2, reinstall it onto pipe anchor (C). Check the pipe for level. If it is slightly off, pull the donut tabs outward and rotate the donut to shift its position and compensate. Need help? Watch our leveling donut video.
Step 4: Install Post
Parts Required
B x1
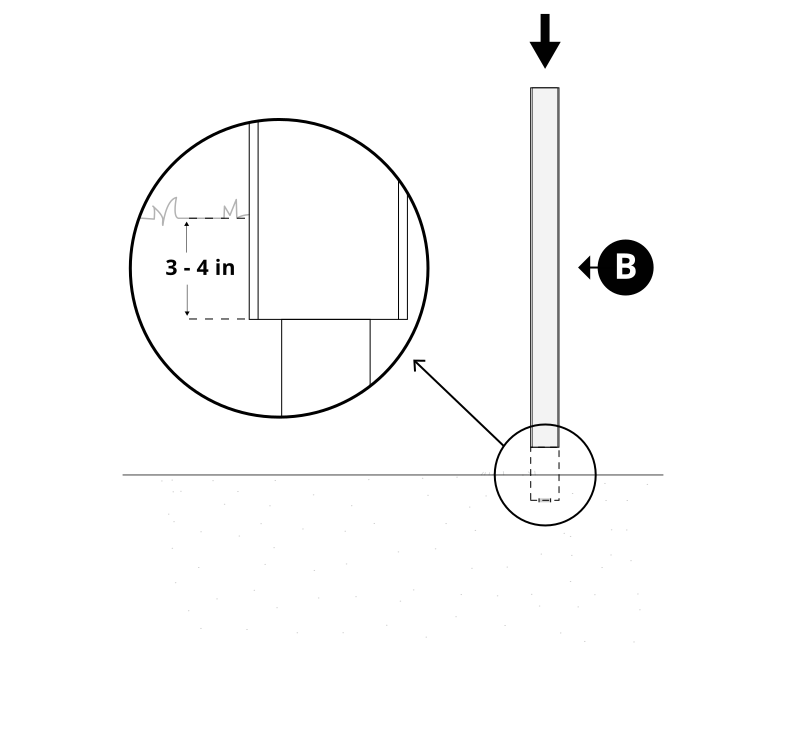
Slide post (B) down over the donuts. On flat ground, bury the post approximately 3in and compact dirt around it for added stability.
Step 5: Install Post Cap
Parts Required
A x1
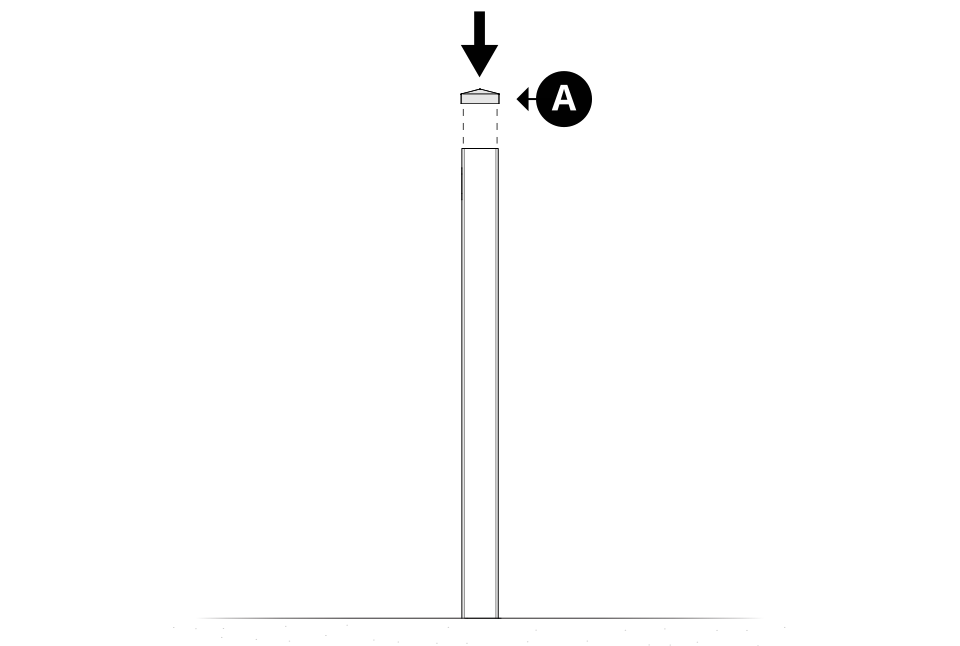
Trim down the top of the post if necessary, then press post cap (A) firmly onto the post to finish.
Need Help?
- Email: hmmm@wambamfence.com
- Phone: 704-892-5222 or 877-778-5733
- Text: 704-892-5222
