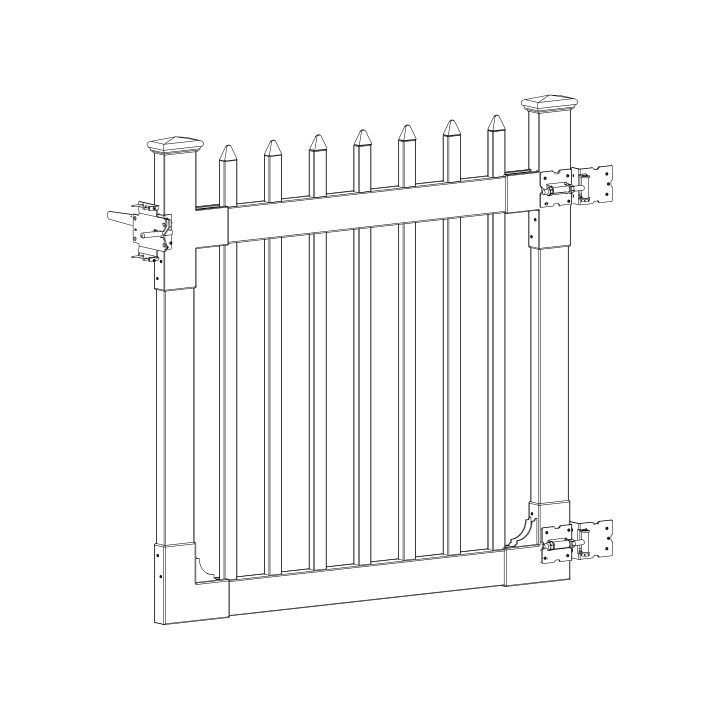
Nantucket Vinyl Picket Gate
Before You Begin
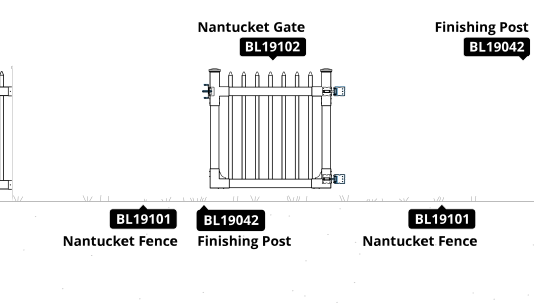
- Before driving your pipe anchors, check for underground utilities. In the US, call 811 or visit www.call811.com. In Canada, visit www.clickbeforeyoudig.com to find your provincial one-call centre. This gate needs two posts (BL19042) driven into the ground.
- See your Nantucket Fence (BL19101) install guide for full panel assembly and layout.
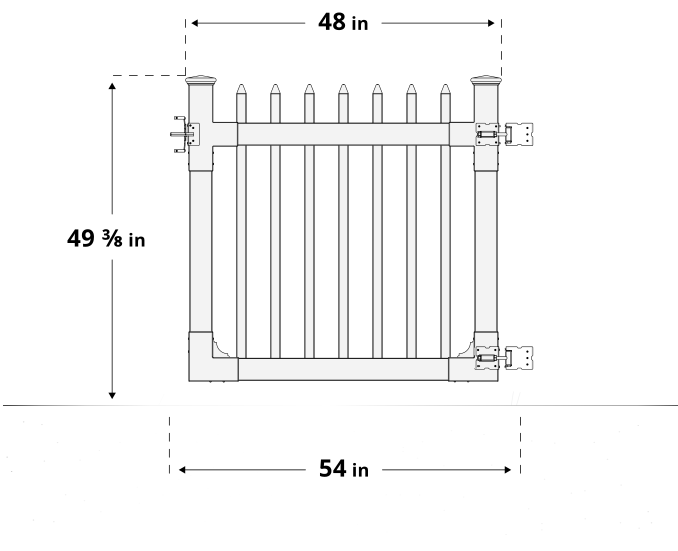
- Pre-assemble your gate frame first — do a dry run before permanently screwing anything together, to confirm you have everything you need, the frame goes together in the right order, and the gate's height and width match the dimensions below.
- Install your gate posts before your fence posts — fence panels are more forgiving for a custom fit than a gate is.
- You should not need excessive force when assembling components.
Returns: Please let us help resolve any issues before initiating a return. If a return is still necessary, it must be initiated with the retailer where the product was purchased.
Need Help or Replacement Parts?
Our US-based customer service team is available Monday–Friday, 9am–5pm EST.
- Parts Website: https://parts.nychbrands.com
- Email: hmmm@wambamfence.com
- Phone: 704-892-5222 or 877-778-5733
- Text: 704-892-5222
For faster service, have your item number (BL19102) and part name ready. A batch lot number (found on the end of the box) is also helpful if available — it helps us identify and resolve any production issues on our end.
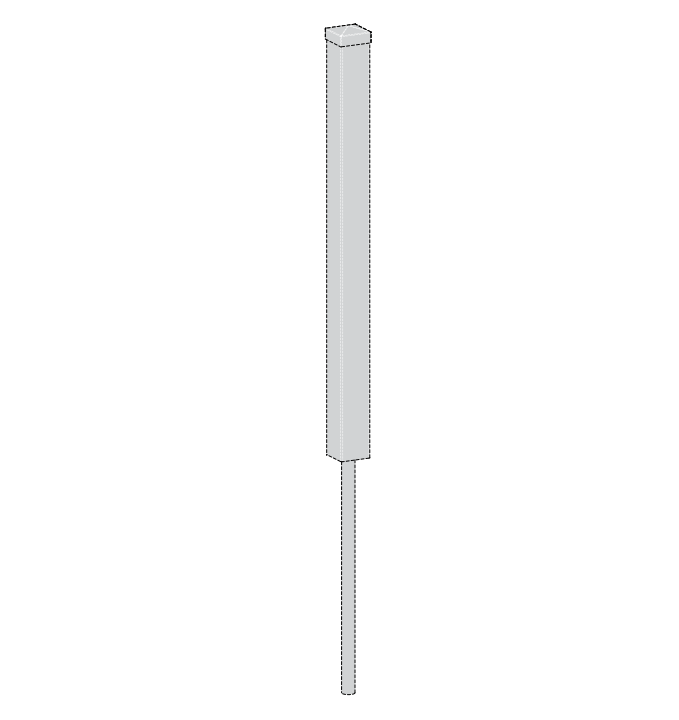
Finishing Post: BL19042
Gates do not come with their own posts
You will need two Posts — one to finish the fence run, and one to support the gate.
Buying Guide
Product Specifications & Dimensions
Required Tools
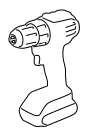
Drill
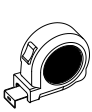
Measuring Tape
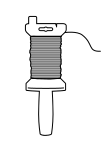
Stringline Reel
Stakes (for stringline)
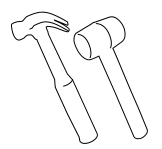
Mallet (Optional for Stakes)
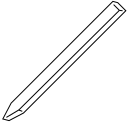
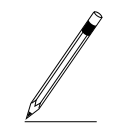
Pencil
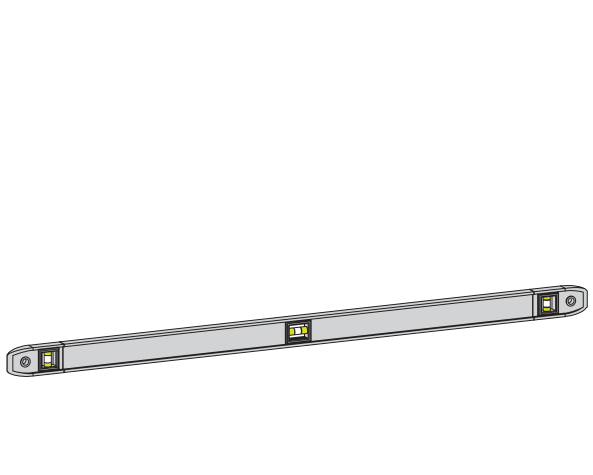
Large Level
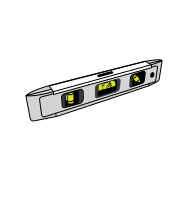
Small Level
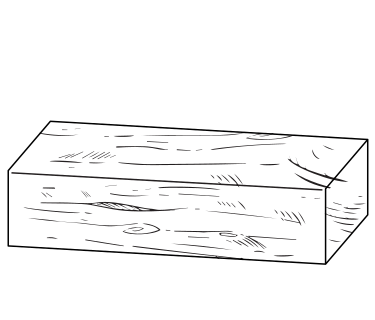
Wood Block
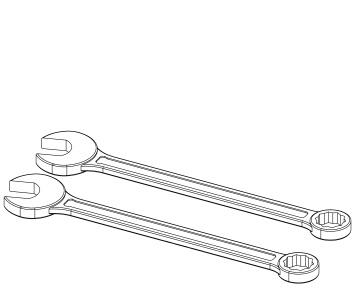
Wrenches
Hinge Post Support
Your gate will perform best with complete fence panels on both sides. At minimum, the hinge post should be part of a connected fence run — tying it to a panel that continues to another post lets that post help carry the gate's swinging load, instead of the hinge post bearing it alone. If space restrictions make this impossible, contact us for alternative solutions.
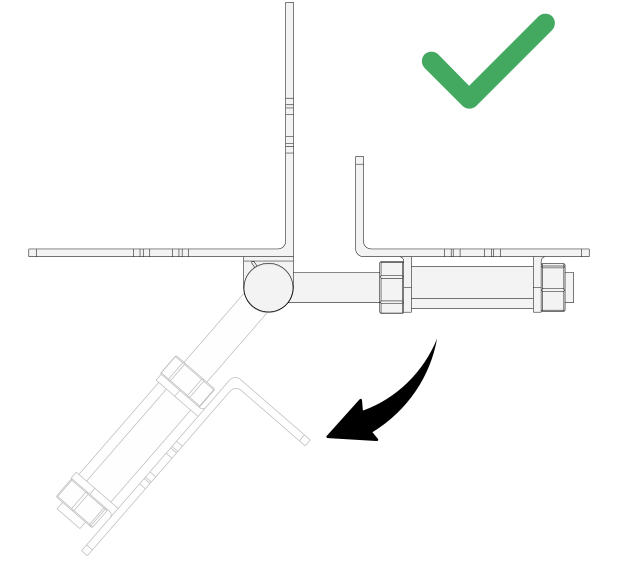
Note on Hinges
Hinges only open one direction. Decide which way you want your gate to open before mounting your hinges.
Part Identification
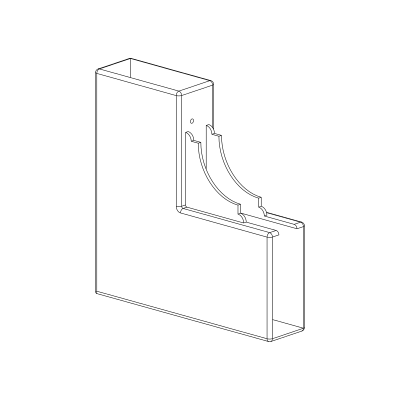
A
Bottom Bracket (2)
B
Bottom Rail (1)
1½in x 3½in x 47¾in
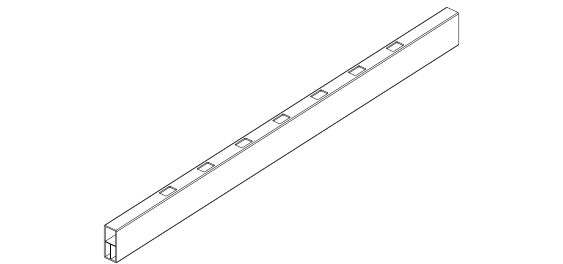
Bottom rail has holes on only one side
C
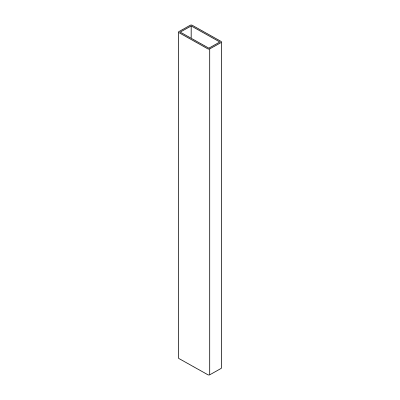
Vertical Stile (2)
1½in x 3½in x 32⅞in
D
T-Bracket (2)
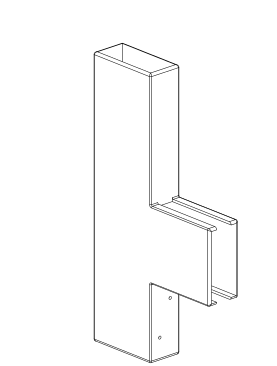
E
Top Rail (1)
1½in x 3½in x 47¾in
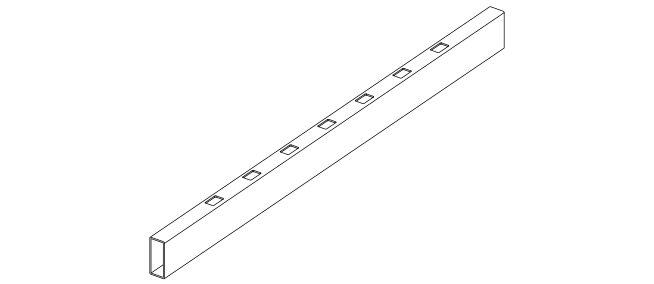
Top rail has holes on both sides
F
1¼in White Self-Drilling Stainless Steel Screw (20)
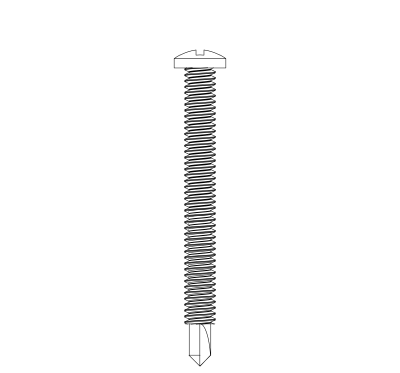
G
Picket (7)
⅞in x 1½in x 44¼in
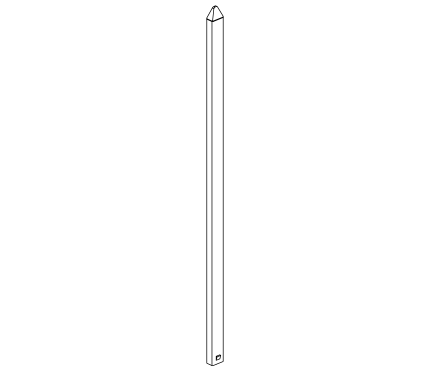
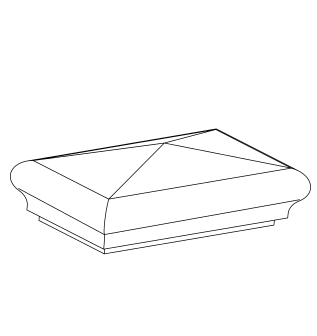
H
Post Cap (2)
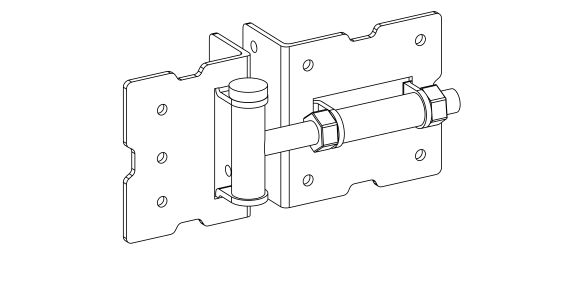
I
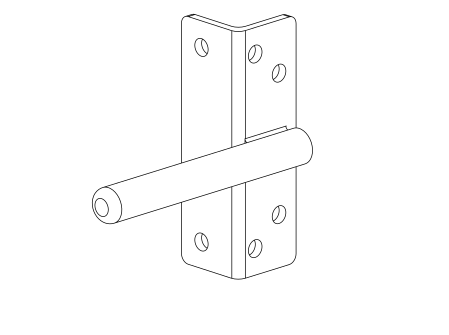
Hinge with Fasteners (2)
with 1¼in Black Stainless Steel Screws (26)
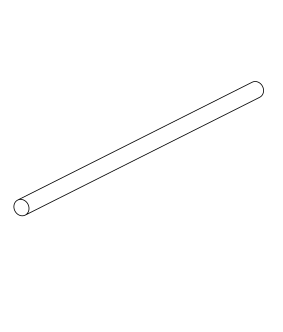
J
4in Tension Pin (2)
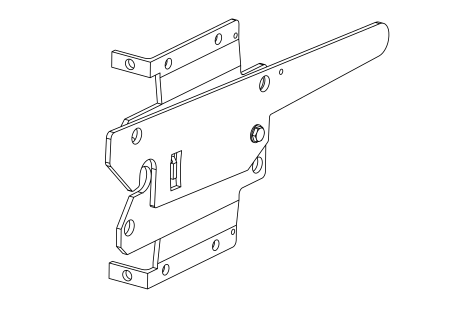
K
Latch Catch (1)
with 1¼in Black Stainless Steel Screws (6)
L
Latch Finger (1)
with 1¼in Black Stainless Steel Screws (6)
Step 1: Assemble Bottom Rail
Parts Required
A x2 B x1
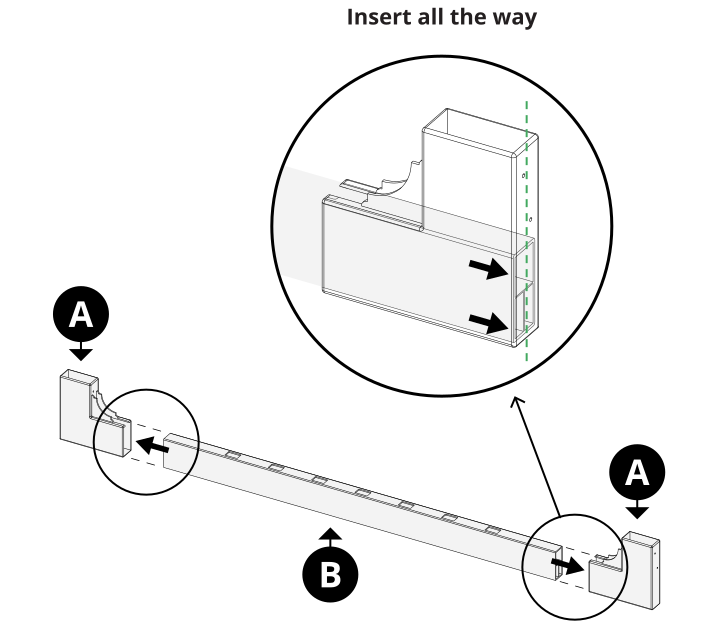
Insert the bottom rail (B) all the way into both bottom brackets (A), until it's seated firmly against the back wall of each bracket. Press firmly — light force might be required to push the rail to the back of the bracket.
Step 2: Insert Vertical Stiles
Parts Required
C x2
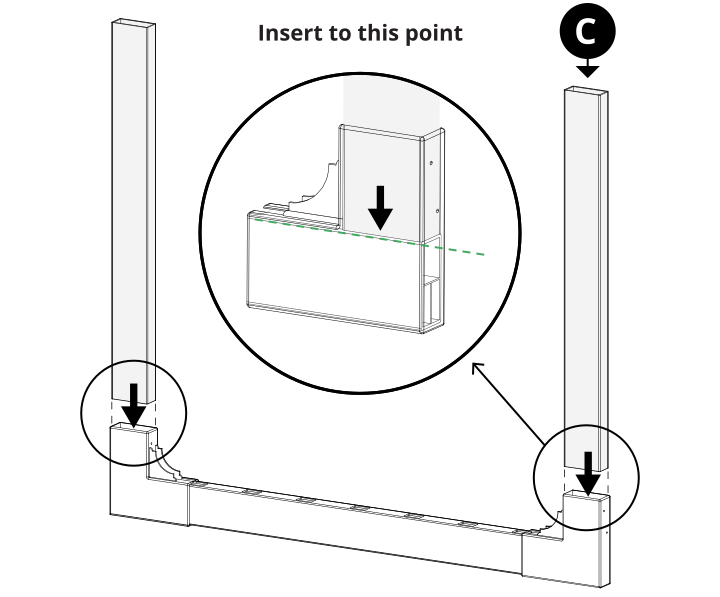
Insert both vertical stiles (C) into the bottom brackets (A) to the point shown, until they meet the bottom rail.
Step 3: Assemble Top Rail
Parts Required
D x2 E x1
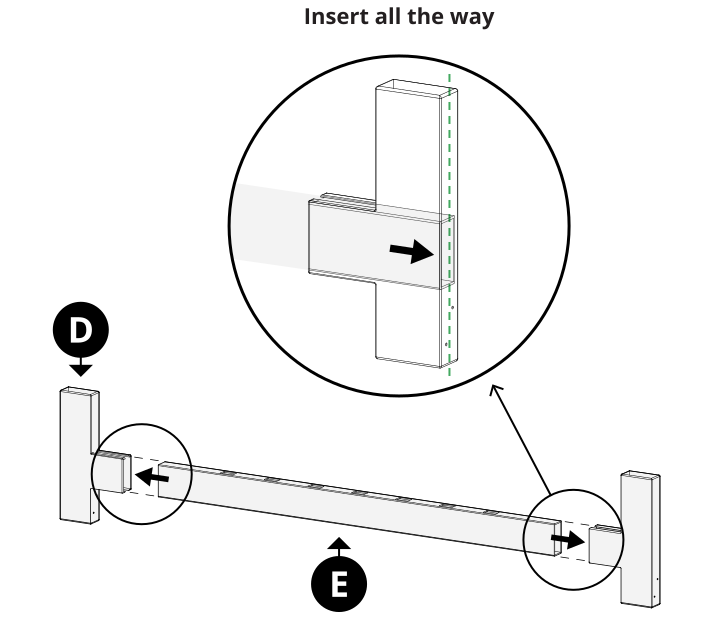
Insert the top rail (E) all the way into both T-brackets (D) until it's seated against the back wall of each bracket. Press firmly — light force might be required to push the rail to the back of the bracket.
Step 4: Attach Frame Top
Slide the assembled gate frame top down over the vertical stiles, applying pressure to all four corners to keep a tight fit.
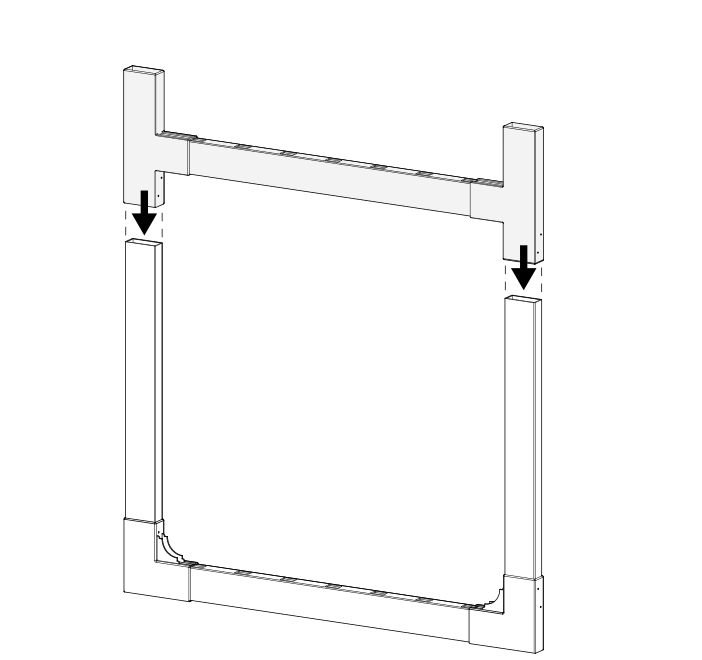
Step 5: Fasten Gate Frame
Parts Required
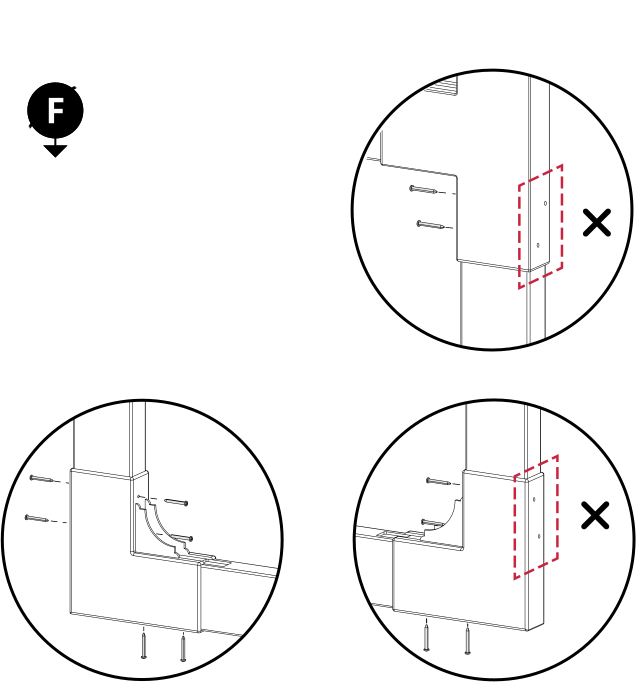
F x16
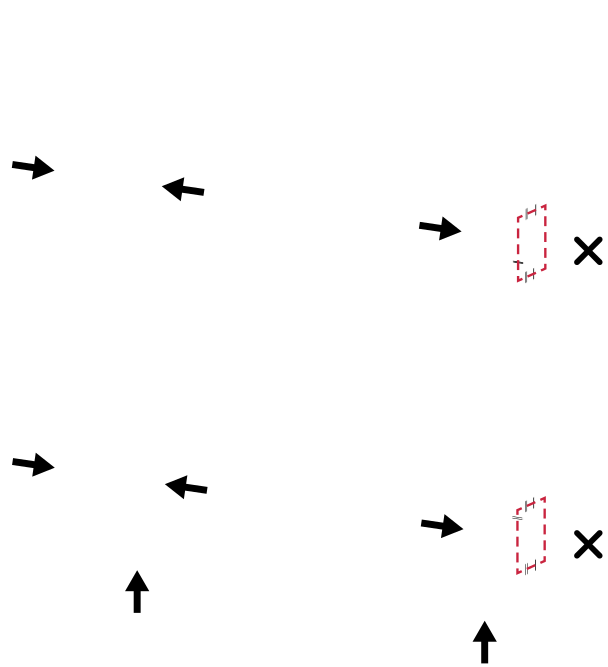
Fasten the gate frame using (16) 1¼in white self-drilling stainless steel screws (F). Apply pressure at the corners as you drive the screws to keep the frame square. Do not install screws on the side where your hinges will be located.
Step 6: Insert Pickets
Parts Required
G x7
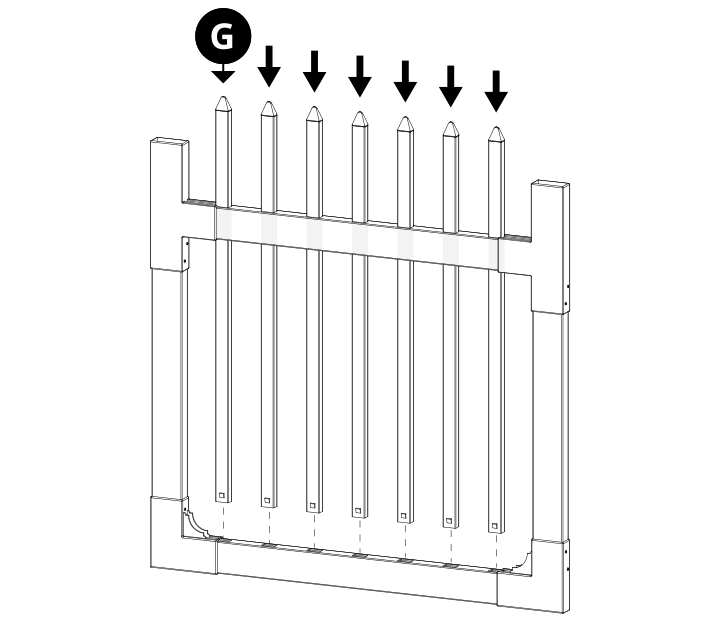
Insert all (7) pickets (G) through the top rail and down into the bottom rail. Don't be afraid to use muscle — you won't break the vinyl.
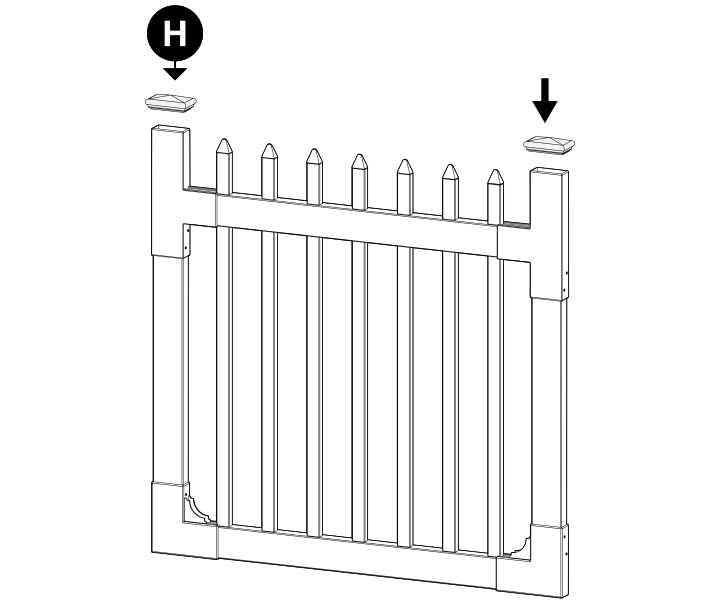
Step 7: Install Post Caps
Parts Required
H x2
Install both post caps (H) onto the T-brackets. Use PVC glue (not included) if you'd like to permanently secure the caps.
Step 8: Loosen Hinge Tension
Parts Required
I x2 J x2
Optional, for a slower self-close. For each hinge, insert a tension pin (J) into a hole at the top of the hinge (I) and rotate it fully to the right — this takes moderate force. Hold it there, remove the smaller pin, let the tension pin ease back to the left, and reinsert the smaller pin into a new hole.
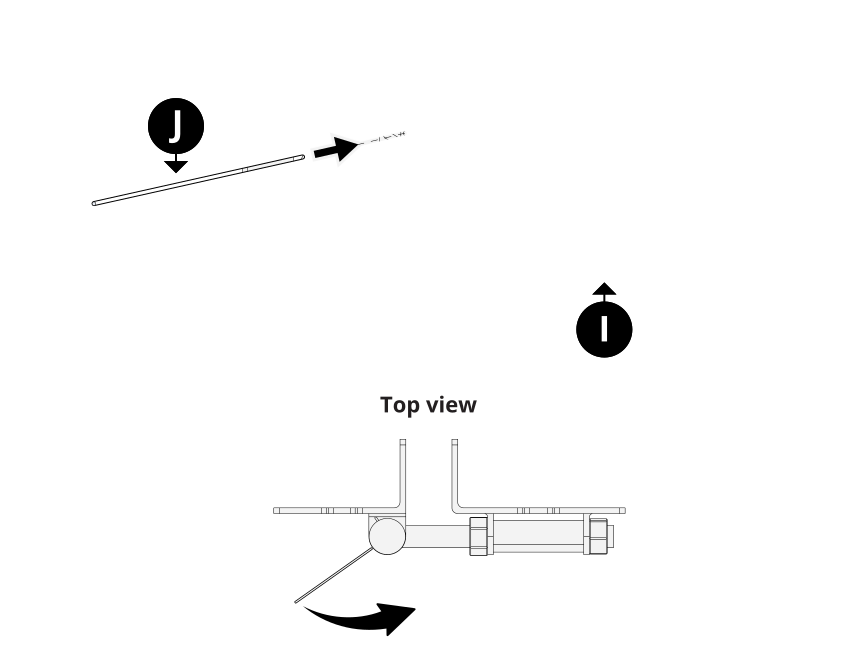
Step 9: Adjust Hinges for Spacing
Parts Required
I x2
Using your two wrenches, loosen or tighten the nuts on each hinge (I) to adjust the spacing between your gate and the hinge post. This adjustment can also help level your gate later on.
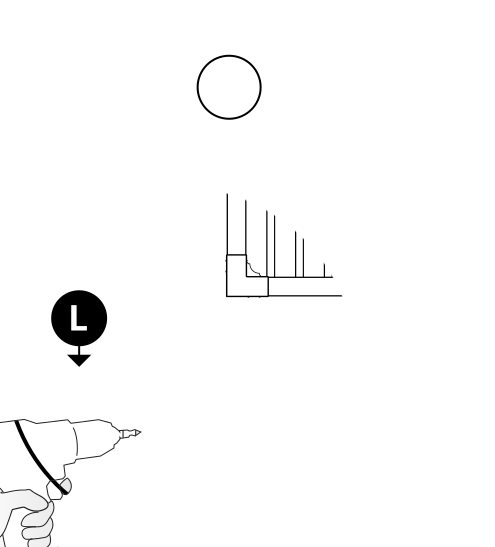
Step 10: Fasten Hinges and Latch Finger
Parts Required
L x1 I x2
Fasten the latch finger (L) to the top bracket with the (6) 1¼in black self-drilling stainless steel screws included with it. Fasten both hinges (I) to the front of the gate brackets with (8) of the screws included with the hinges.
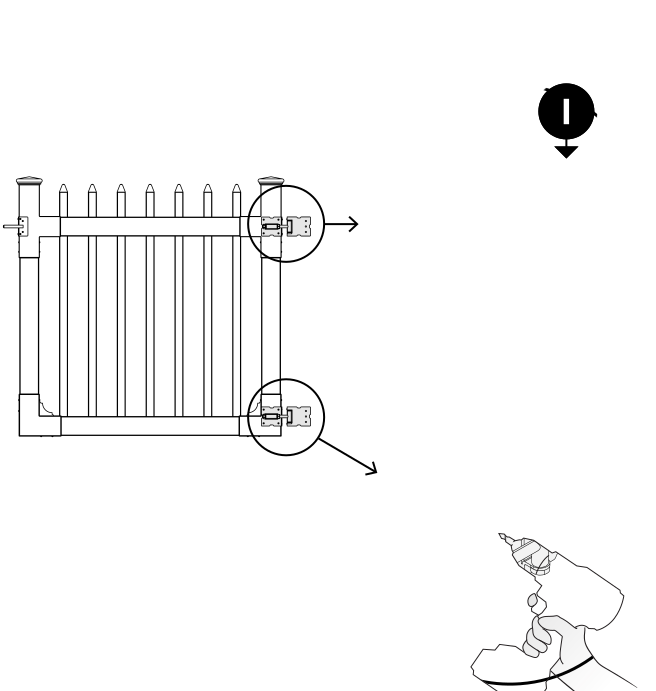
Step 11: Fasten Hinges to Post
Place wood blocks under your gate to keep it level with your fence rails. Fasten the hinges to the post with (6) more of the 1¼in black self-drilling stainless steel screws included with the hinges.
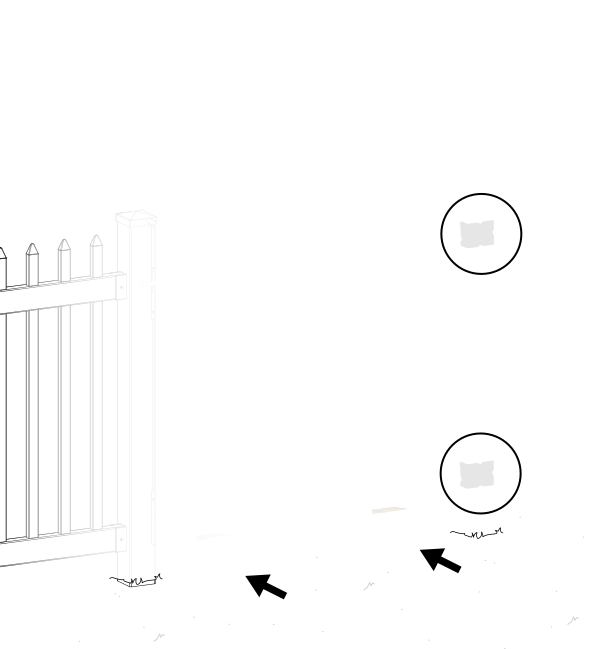
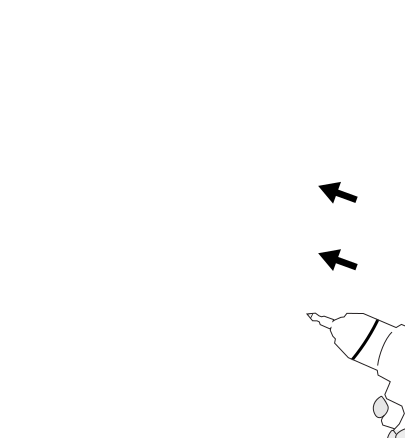
Step 12: Secure Gate and Hinges
Open the gate and set it on two wood blocks to keep it level. Fasten the hinges to the post with (4) screws per hinge, then fasten the inside of each hinge (I) to your gate brackets with (4) more screws in total.
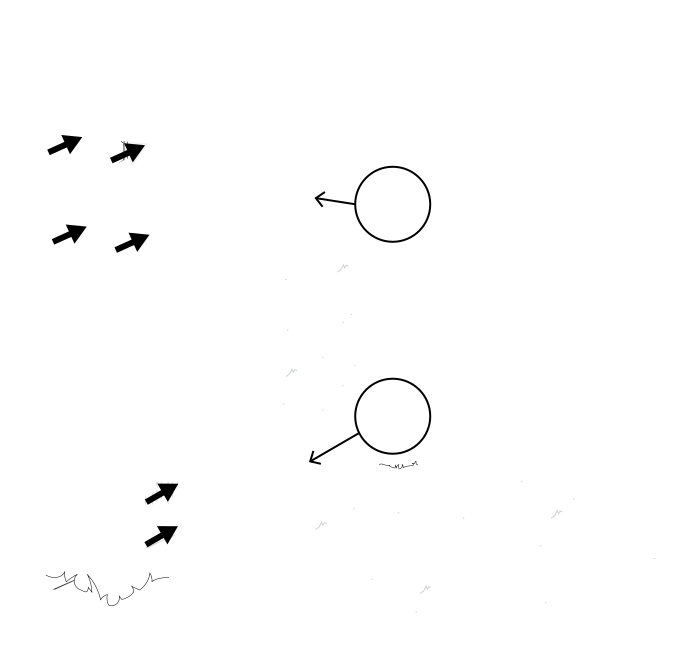
Step 13: Level Your Gate
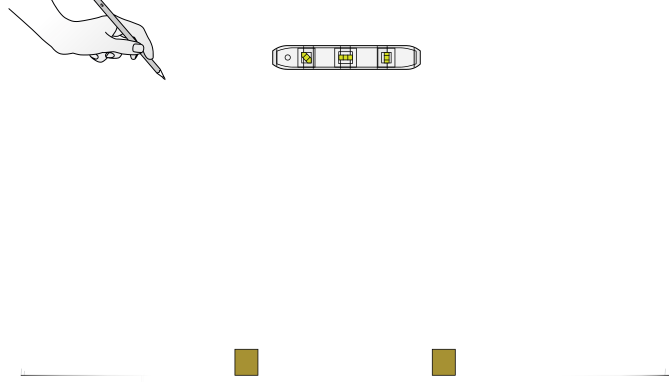
Level the gate to the fence post by adjusting the nuts on the hinges. Check that the gate functions correctly, then mark where you need to install your latch catch.
Step 14: Install Latch Catch
Parts Required
K x1
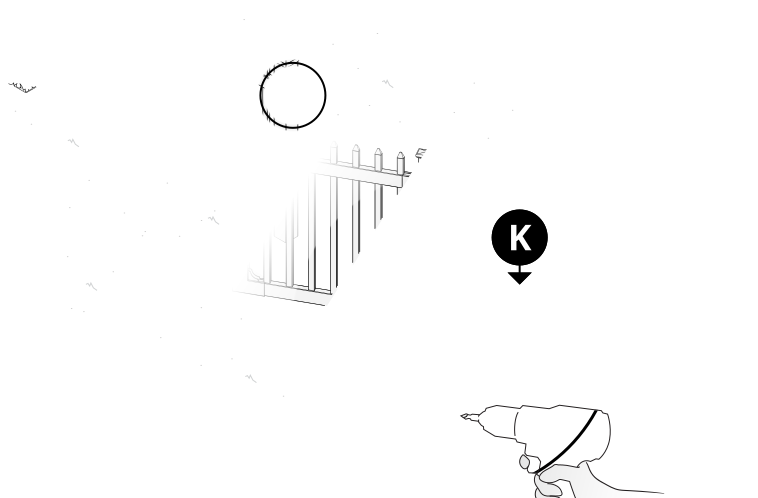
Open the gate. Align and fasten the latch catch (K) to the post with the (6) 1¼in black self-drilling stainless steel screws included with it.
Need Help?
- Email: hmmm@wambamfence.com
- Phone: 704-892-5222 or 877-778-5733
- Text: 704-892-5222
