Most of our privacy screens are designed to be a simple L-shape to block the sightline to a trash can or air conditioner. But many of our customers end up customizing the layout of their screen to accommodate multiple cans or to hide an unsightly gas tank.
Below, we will detail the most common layouts and how to go about achieving these alternate builds. It is important to note, you may need to purchase additional parts or an additional kit. We also recommend visiting our Knowledge Article on ground reinforcement when building some of these options.
Installation methods that do not follow the recommended installation will not be covered by the warranty, however you may still purchase any additional parts you may need through our parts department. All custom part orders are non-refundable.
Straight Line Assembly
Instead of building the screen in an L or U-shape, a straight-line assembly is preferred. We strongly recommend viewing our ground reinforcement article when opting for this build.
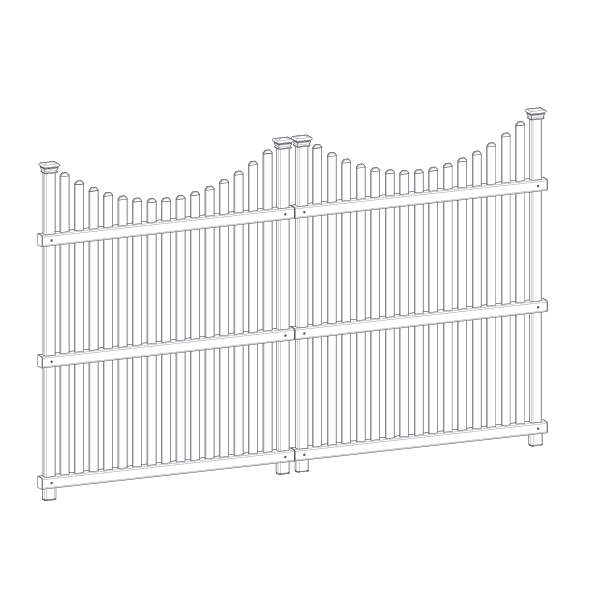
For Screens Attached with Joiner Clips
- Place panels end cap to end cap in a straight line.
- Use joiner clips to attach the rails.
- If extra joiner clips are needed, contact our parts department to purchase.
- We recommend attaching at least one side of the screen to a solid structure, such as a house or shed, with the use of brackets. Reinforcing the ground stakes to obtain the highest level of stability is also an option if attaching the panel to a pre-existing structure is not possible.
For Screens Using Posts with Channels
- Arrange the posts in straight line.
- Slide panels in grooves of posts and follow the installation guide for assembly here. Note that pre-drilled holes in the middle post are not created for a straight-line installation. Use a 1/8″ drill bit to create new holes in the post as necessary.
- We recommend attaching at least one side of the screen to a solid structure, such as a house or shed, with the use of brackets. Reinforcing the ground stakes to obtain the highest level of stability is also an option if attaching the panel to a pre-existing structure is not possible.
U-Shape Assembly
This build will be fairly simple. It is important to note that individual panels are not available for purchase, so another kit will need to be purchased. This means that an extra panel will be left when the installation is complete. We recommend storing this panel in case the screen gets damaged or replacement parts are needed in the future.

For Screens Attached with Joiner Clips
- Follow instructions as normal to build the initial L-shape.
- Open the second kit and select all parts needed to build the third panel.
- Build this panel the same as the first two, following the installation guide.
- Use joiner clips as before to attach this panel to the L-shaped structure, creating a U-shape.
For Screens Attached with Posts with Channels
- Follow instructions as normal to build the initial L-shape.
- Open the second kit and remove the screws, 4 board walls, 1 post, 1 cap, and the ground stakes.
- Add the post to the desired side to create a third panel.
- Slide the 4 board walls into the post channels.
- Secure top and bottom boards with screws.
- Attach the ground stakes per the installation guide.
- Install into the ground using method from instructions.
- Add the post cap.
Free Shipping
On Orders Over $3000Let Us Help!
877.778.5733Payment Methods
All Major Cards, Google Pay, Apple Pay & KlarnaFree Shipping
On Orders Over $3000Let Us Help!
877.778.5733Payment Methods
All Major Cards, Google Pay, Apple Pay & Klarna
