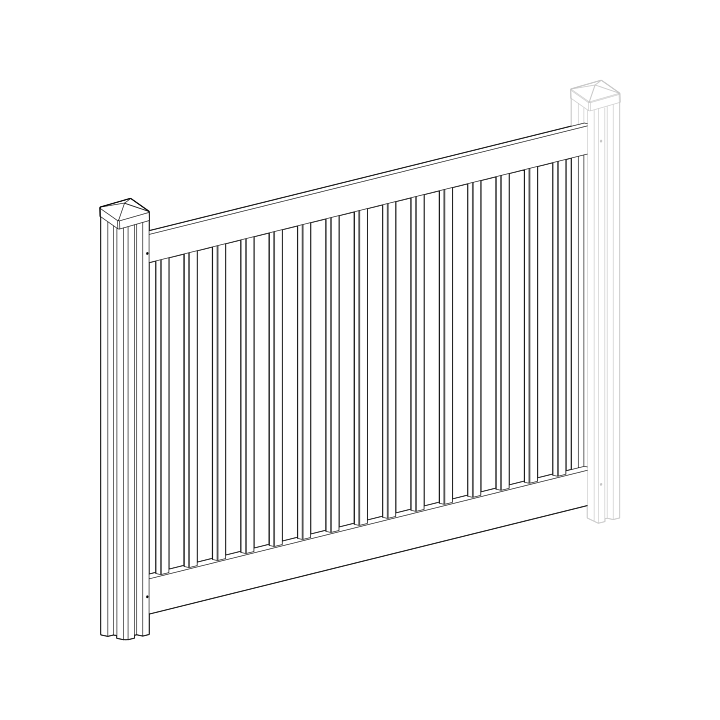
Traditional Yard & Pool Fence
Before You Begin
- Call 811 before you dig to check for underground utilities. In the US call 811 or visit www.call811.com; in Canada visit clickbeforeyoudig.com.
- Check local zoning laws and HOA rules — height, style, and placement may be regulated, and some locations require a permit.
- Confirm the fence line falls inside your property limits, and talk to your neighbors before you start.
- Check the inside of the larger pieces in your box for other materials packed inside.
- Assemble components on a non-abrasive surface, such as the shipping box, to avoid scratching.
- Allow an area of roughly 5' x 8' for unobstructed assembly.
- You should not need to use excessive force when assembling components.
Returns: Please let us help resolve any issues before initiating a return. If a return is still necessary, it must be initiated with the retailer where the product was purchased.
Need Help or Replacement Parts?
Our US-based customer service team is available Monday–Friday, 9am–5pm EST.
- Parts Website: https://parts.nychbrands.com
- Email: hmmm@wambamfence.com
- Phone: 704-892-5222 or 877-778-5733
For faster service, have your item number (VF13002) and part name ready. A batch lot number (found on the end of the box) is also helpful — it assists us in identifying and resolving any production issues.
Product Specifications & Dimensions
This fence can be trimmed down in both width and height to accommodate custom applications.
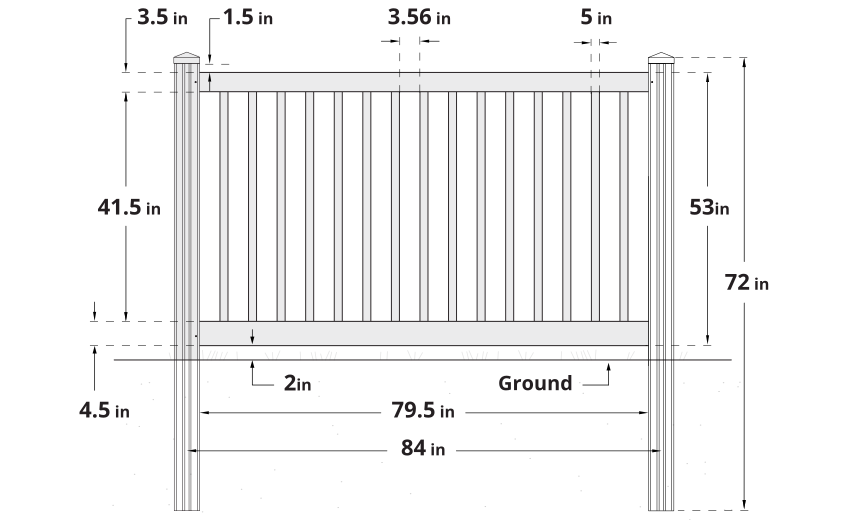
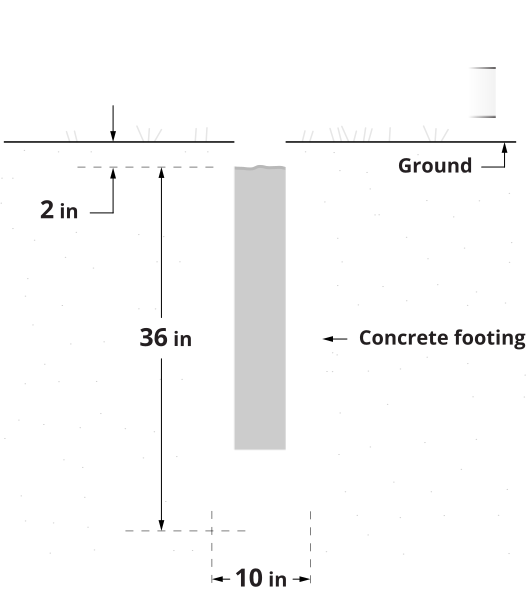
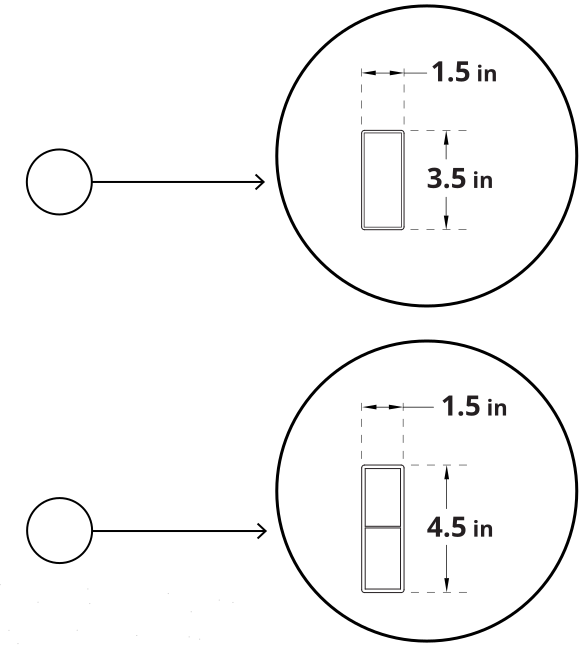
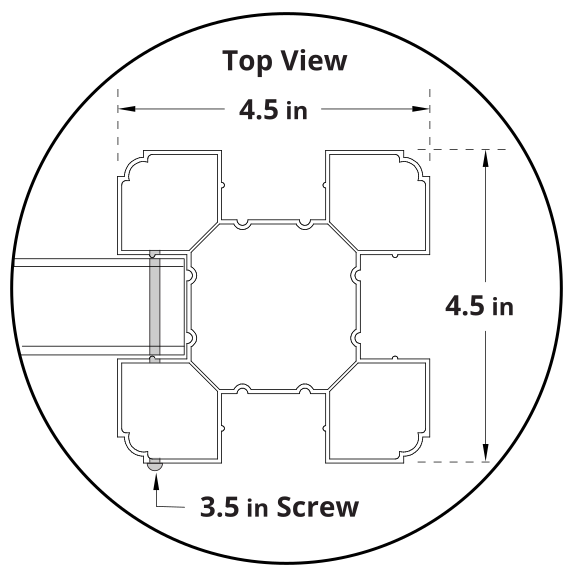
Please adhere to the above dimensions if installing around a pool to comply with pool code.
Required Tools
Safety Glasses
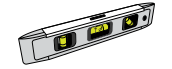
1ft Torpedo Level
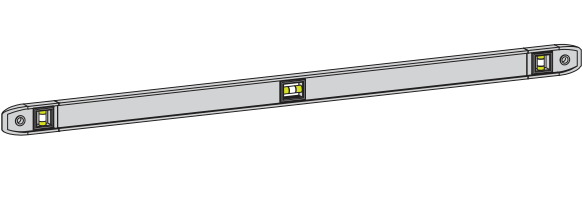
4ft Level (a string line level also works)
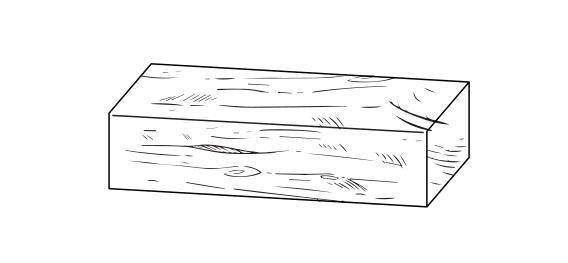
Wood "Spacer" Blocks (2 per panel)
2" x 2" x 6"
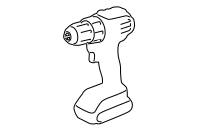
Cordless Drill (preferably with a high-torque setting)
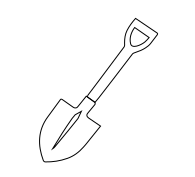
Shovel (optional)
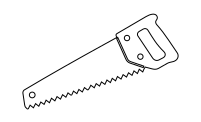
Power or Hand Saw with a Fine-Toothed Blade
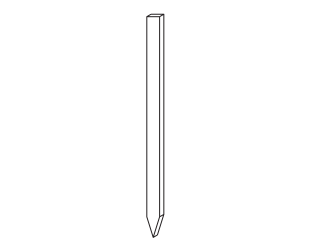
String Line Stakes
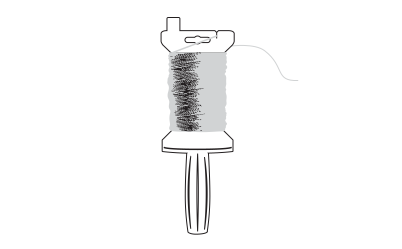
Spool of String
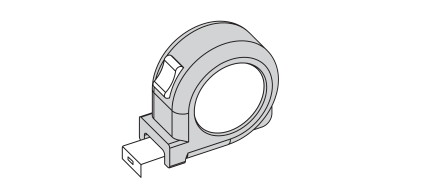
Tape Measure
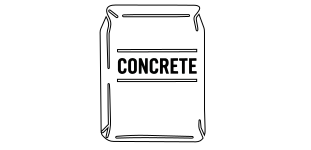
Concrete (purchased separately)
Part Identification
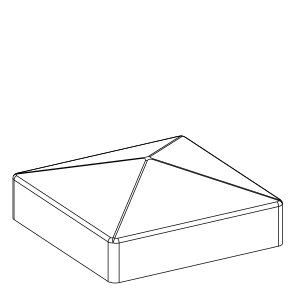
A
Post Cap (1)
B
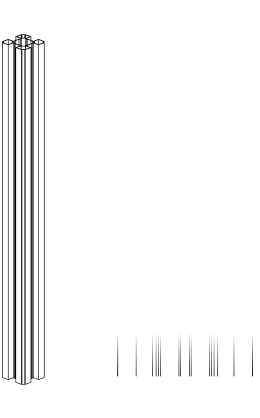
Post (1)
4½" x 4½" x 72"
C
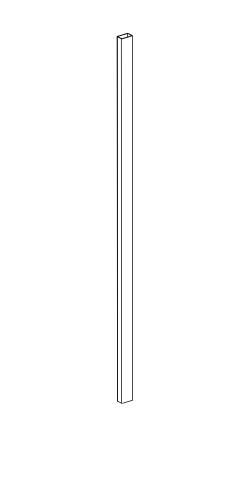
Picket (15)
⅞" x 1½" x 45"
D
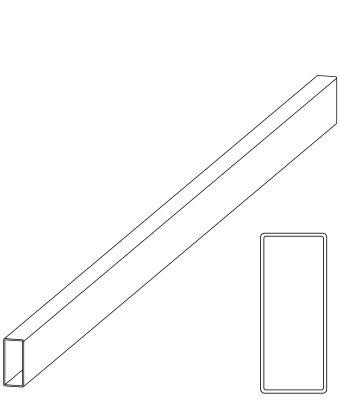
Top Rail (1)
1½" x 3½" x 81½"
E
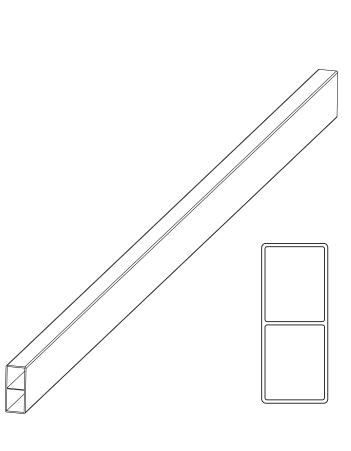
Bottom Rail (1)
1½" x 4½" x 81½"
F
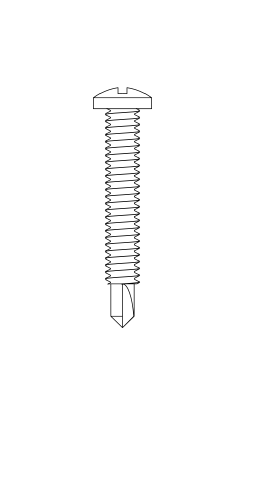
1¼" Self-Drilling Stainless Steel Screw (4)
G
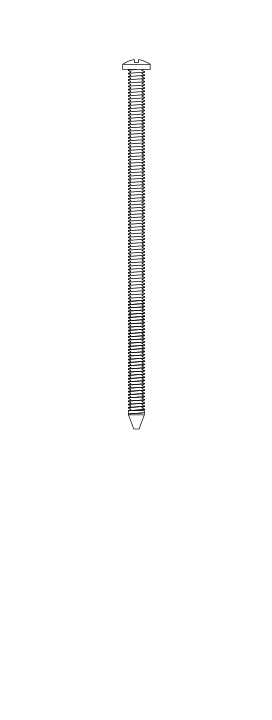
3½" Self-Drilling Stainless Steel Screw (4)
Finishing Post: VP13008
Your panel comes with 1 post. You will need a VP13008 (2 pack) to finish the fence run.
Step 1: Set Stringline
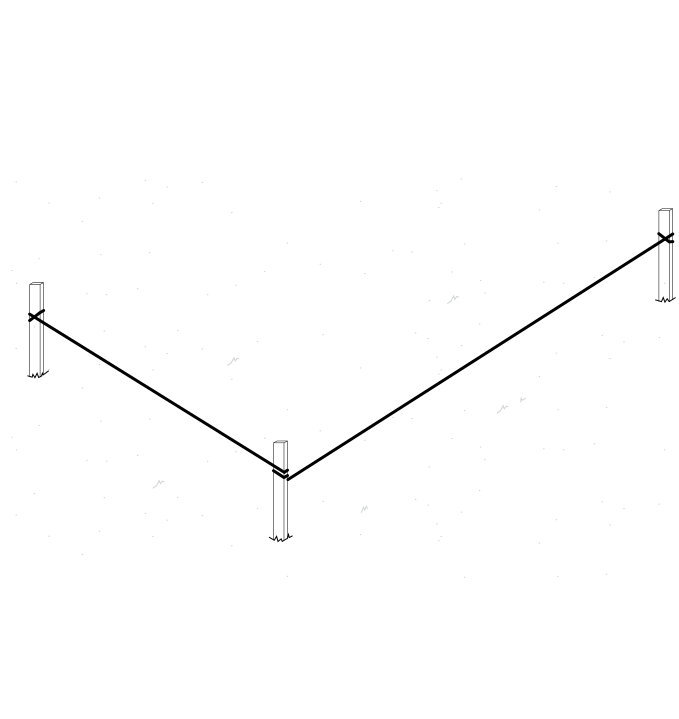
Hammer a stake at each end of every fence run, then tie string between the stakes. This line keeps your post holes aligned as you dig them.
Step 2: Dig the Post Holes
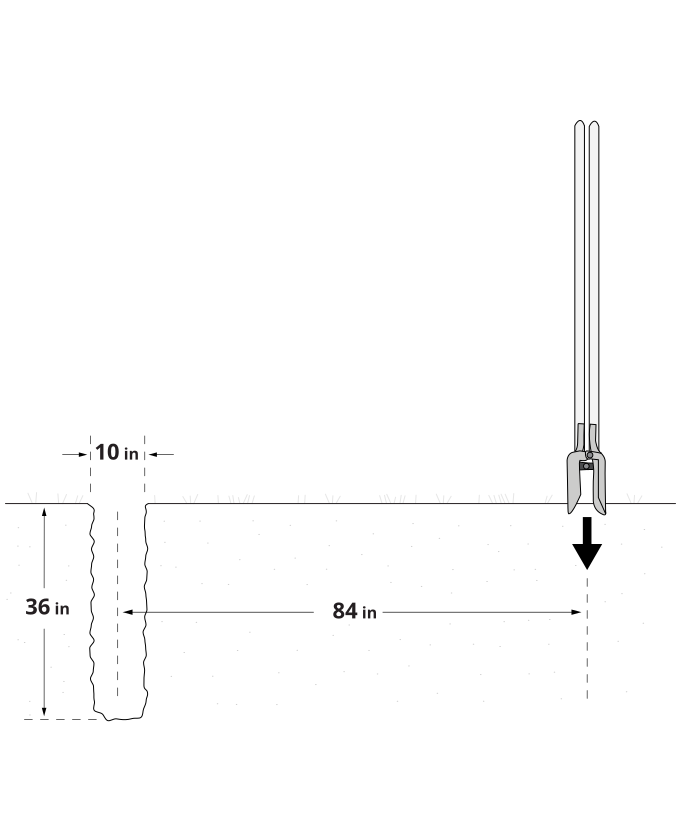
Working along your stringline, dig your first post hole 10" in diameter and 36" deep. Dig your second hole 84" from the first, measuring center to center. Dig only three or four holes at a time to ensure proper spacing.
Step 3: Set the Posts
Parts Required
B x1
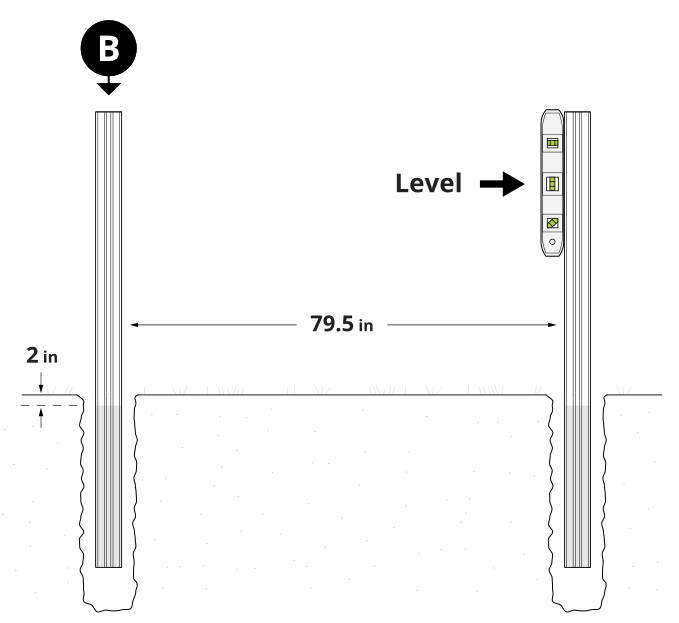
Add approximately 18" of concrete to the bottom of the hole, then set Post (B) straight and level. Add more concrete to within 2" of ground level.
Step 4: Slide In the Bottom Rail
Parts Required
E x1
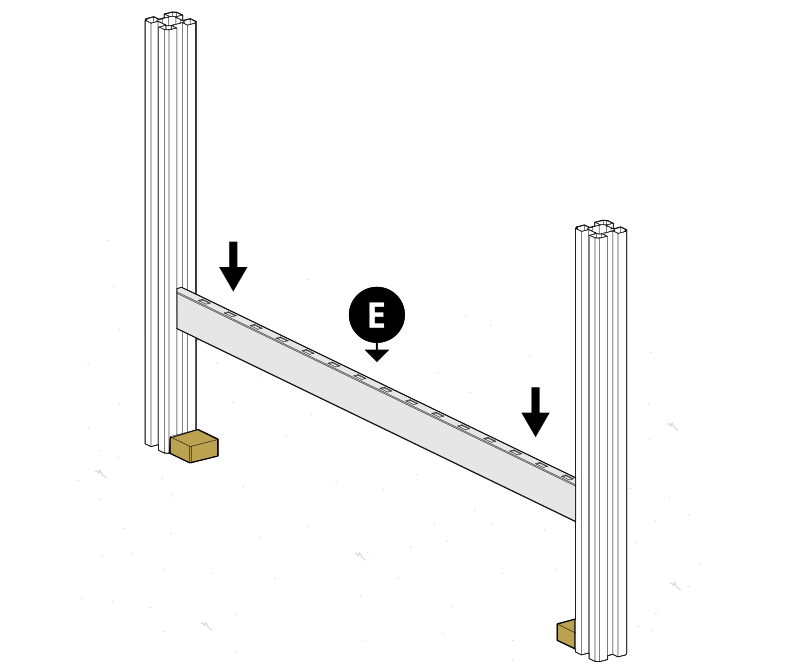
Slide the Bottom Rail (E) through the channel in the post until it sits about 2" above the ground. Use the wooden blocks as temporary spacers to hold that height.
Step 5: Insert the Pickets
Parts Required
C x15
Insert all 15 Pickets (C) into the bottom rail as illustrated.
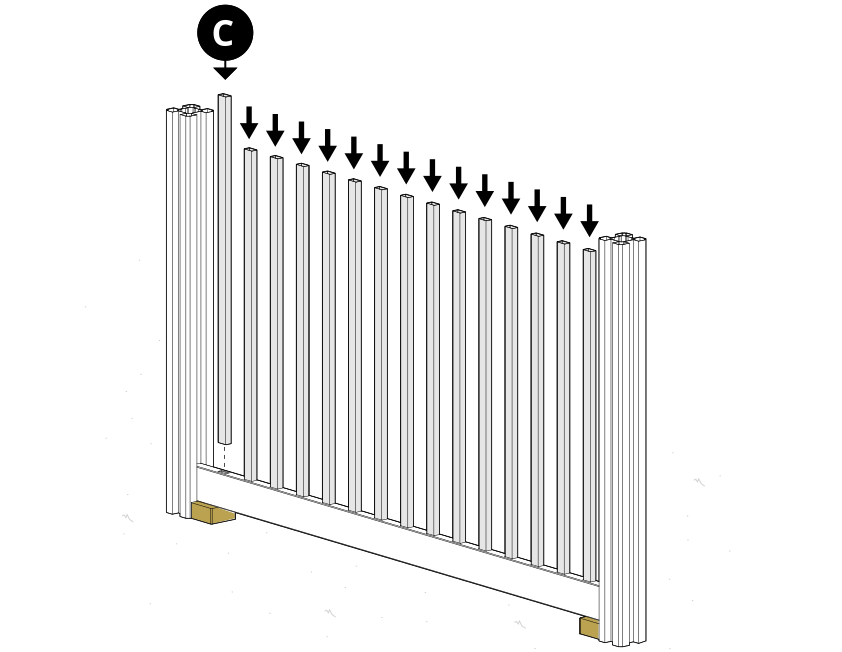 Note: The pickets cannot be removed once inserted into the bottom rail.
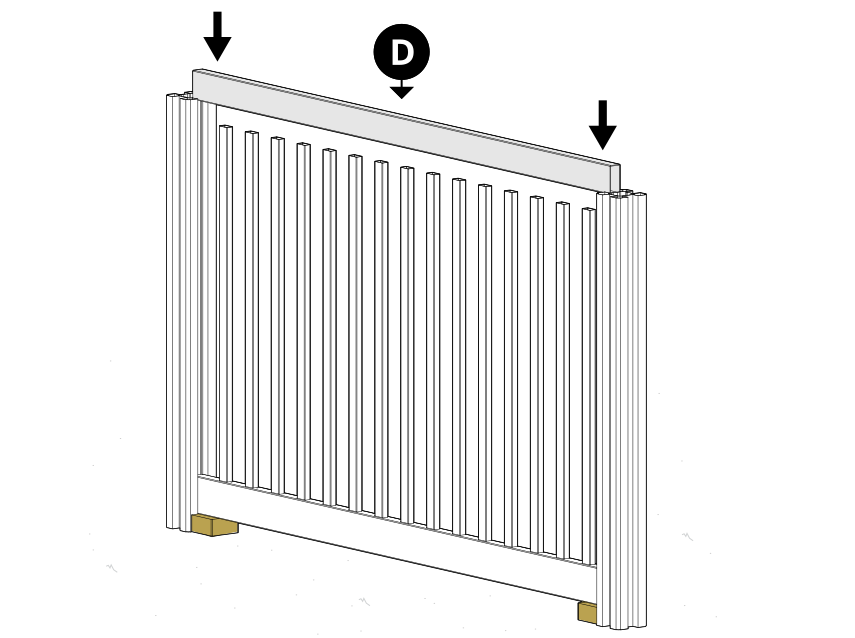
Step 6: Fit the Top Rail
Parts Required
D x1
Slide the Top Rail (D) into place over the pickets.
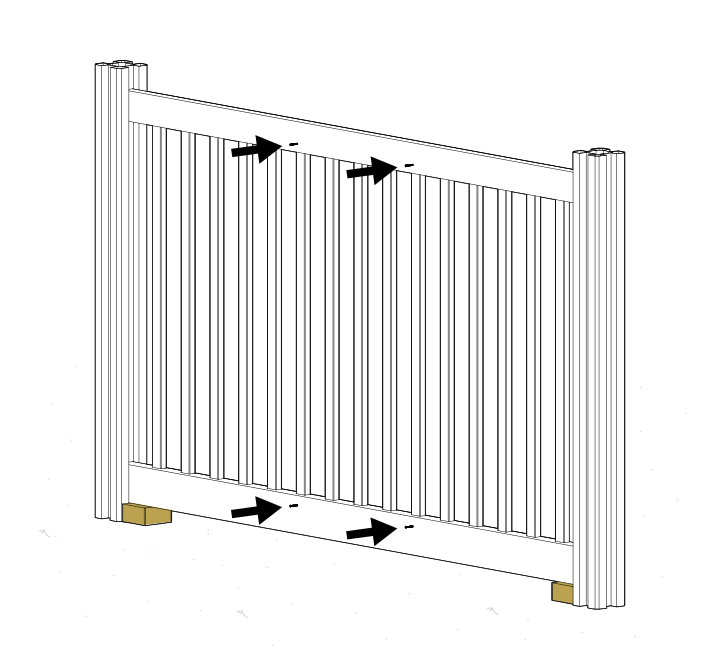
Step 7: Screw the Rails to the Pickets
Parts Required
F x4
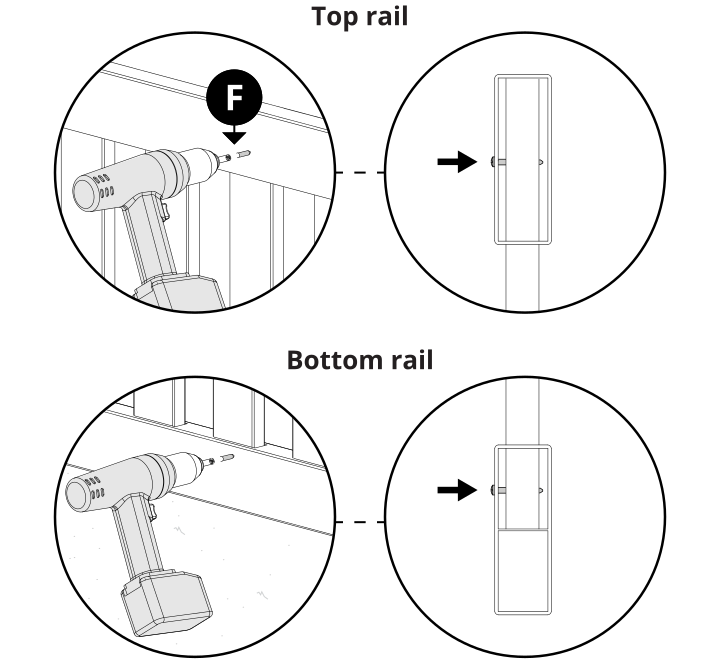
Drive four 1¼" Self-Drilling Stainless Steel Screws (F) through the middle of the top rail and pickets, and through the upper cavity of the bottom rail, as illustrated.
Step 8: Adjust the Panel Height
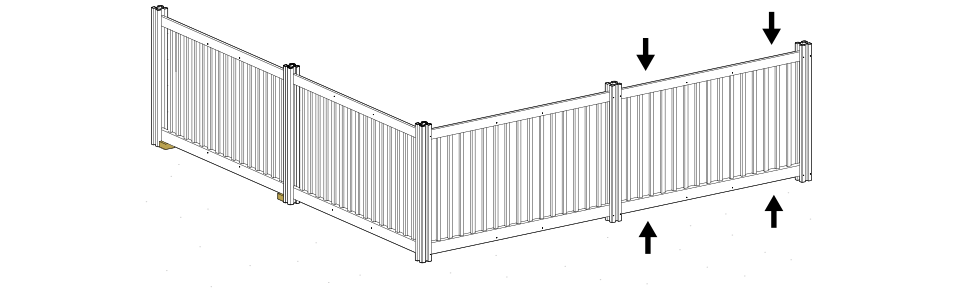
Adjust the height of the fence panel as necessary.
Step 9: Screw the Rails to the Posts
Parts Required
G x1
Drive a 3½" Self-Drilling Stainless Steel Screw (G) through the post into the rail.
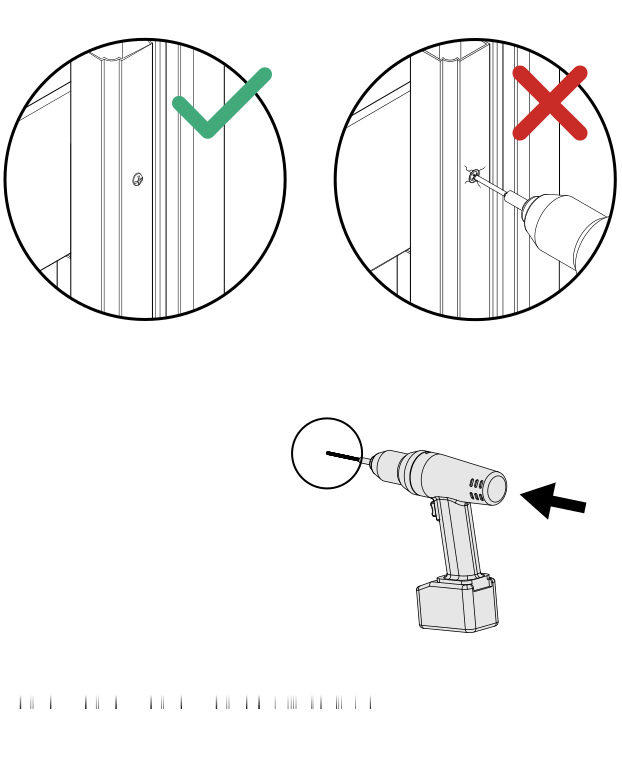 Note: Do not over-tighten the 3½" self-drilling stainless steel screws — over-tightening will cause the vinyl to dimple.
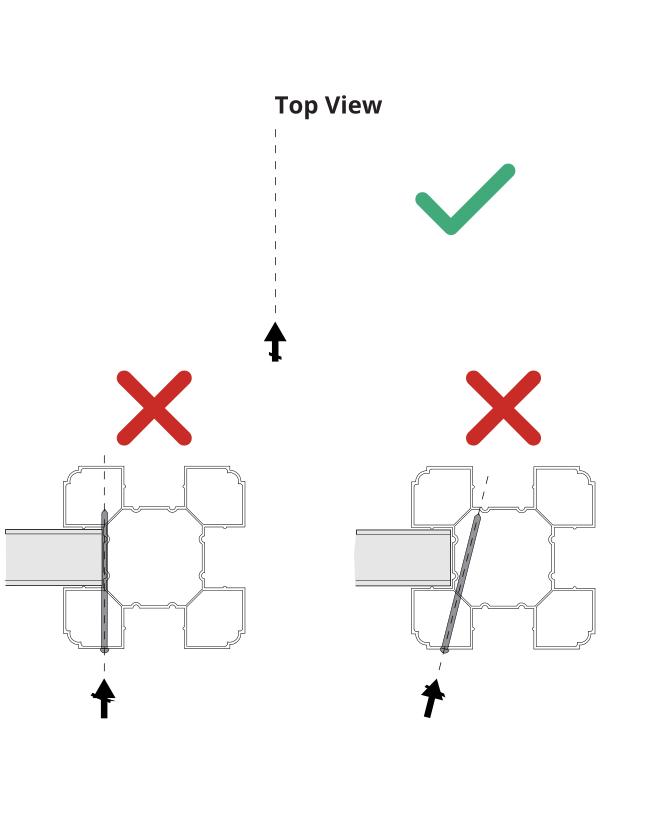 Note: Position and drive the screws along the edge of the rounded post corner as shown. This ensures the rail is properly secured to the post.
Step 10: Repeat at Each Rail Corner
Parts Required
G x3
Repeat in each remaining rail corner, using three more 3½" self-drilling stainless steel screws (G) for four in total.
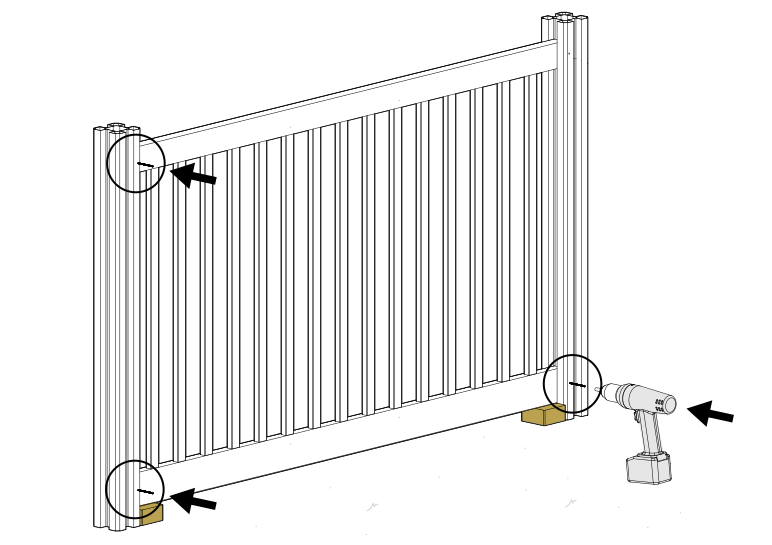 Note: This step ensures that your fence rails will never fall out of your posts like traditional vinyl fence rails sometimes do.
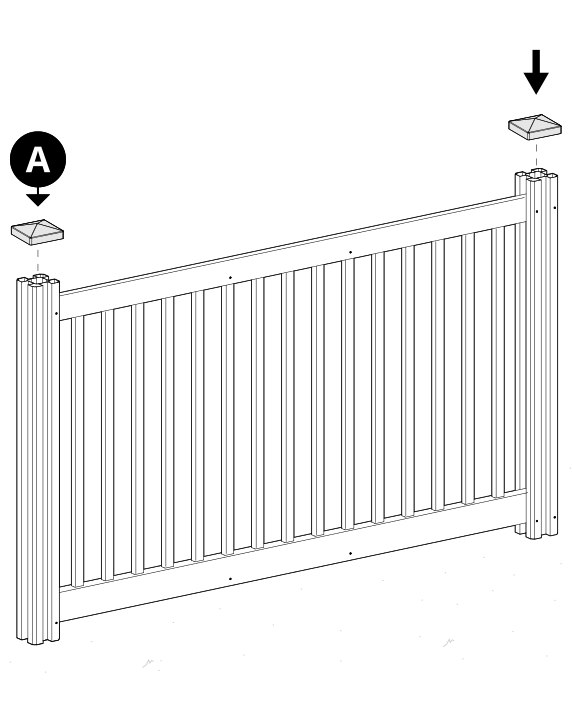
Step 11: Glue On the Post Cap
Parts Required
A x1
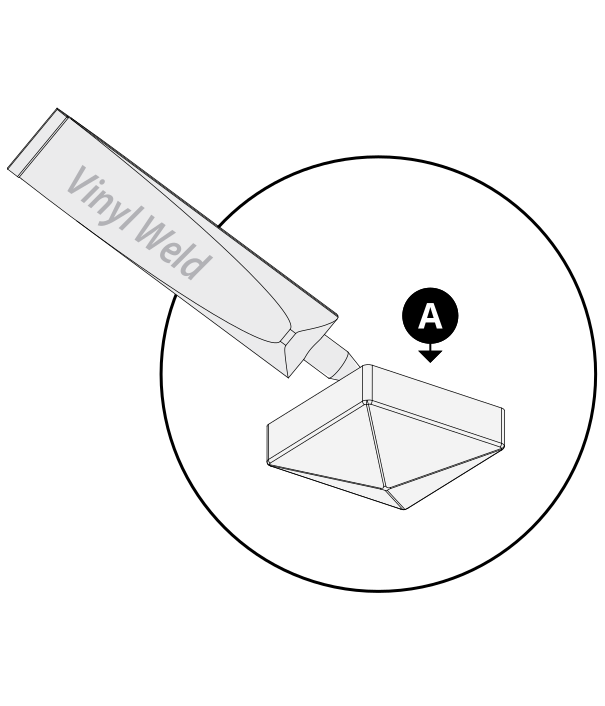
Put a small bead of vinyl glue or weld — purchased separately at a hardware store — along the inside of Post Cap (A). Place the glued cap on the post and allow it to set for 5–10 minutes.
Uneven or Sloped Yards
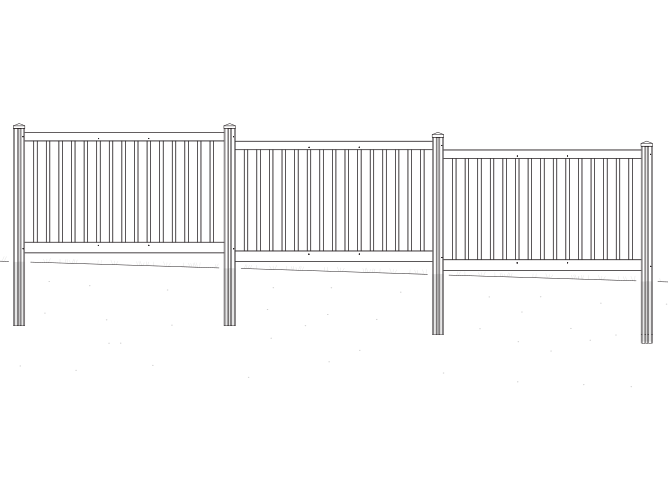
Most yards are relatively level and will allow for a fairly simple installation. If your yard is steeply pitched or very uneven, you may need to stair-step your panels as illustrated below. Post height can be trimmed down as necessary.
Need Help?
- Email: hmmm@wambamfence.com
- Phone: 704-892-5222 or 877-778-5733
- Text: 980-580-6580
