Newport Vinyl Fence

Before You Begin
- Before driving pipe anchors, check for underground utilities. In the US, call 811 or visit www.call811.com. In Canada, visit www.clickbeforeyoudig.com to find your provincial one-call centre.
- Build one complete panel first, then drive all remaining pipes, attach posts, and build out from there.
- If your yard slope exceeds 3–4in per 6ft panel, you will need to split your panels and purchase an extra post and set of brackets.
Returns: Please let us help resolve any issues before initiating a return. If a return is still necessary, it must be initiated with the retailer where the product was purchased.
Need Help or Replacement Parts?
Our US-based customer service team is available Monday-Friday, 9am-5pm EST.
- Parts Website: https://parts.nychbrands.com
- Email: hmmm@wambamfence.com
- Phone: 704-892-5222 or 877-778-5733
- Text: 704-892-5222
For faster service, have your item number (ZP19002) and part name ready. Your original product box is also helpful if available.
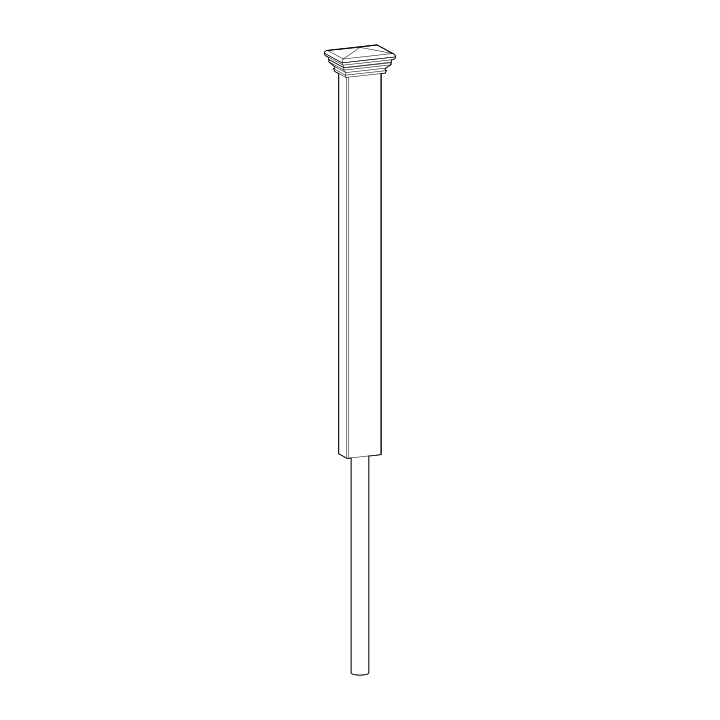
Finishing Post: ZP19003
Your panel comes with 1 post/anchor kit.
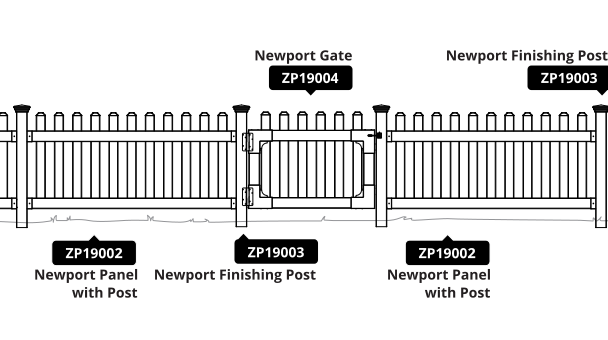
You will need 1 ZP19003 to finish the fence run. If you are installing a gate (ZP19004), you will need two finishing posts — one to finish the run, and one to support the gate. See next diagram for help visualizing.
Buying Guide
Product Specifications & Dimensions

Required Tools
Drill

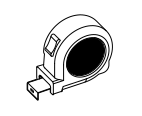
Measuring Tape
Pencil

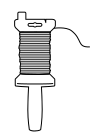
Stringline Reel
Stakes (for stringline)
Hammer or Mallet (for stakes)
Wood Blocks

1ft Level
Post Pounder Considerations
Good
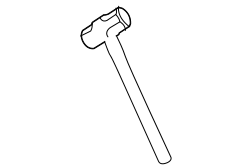
Sledgehammer
10-15lbs.
A basic option for very small projects. Requires two people to keep pipes level during installation.
Better

Manual Post Pounder
12-30lbs.
Best for projects with fewer than 10 pipes. Available online or at hardware stores.
Best
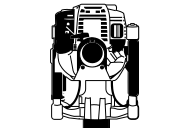
Gas Powered Pounder
Rentals are ideal for larger projects. Significantly reduces time and effort required.
Tip!
Don't use a 5lb sledgehammer — it won't generate enough force to be effective, and driving the pipe turns into a slow, frustrating grind.
Part Identification
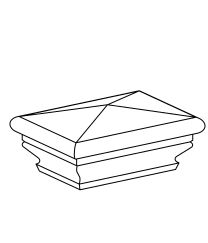
A
Post Cap (1)
B
Picket (11)
⅞in x 3in x 29¾in
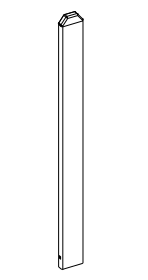
C
Post (1)
2in x 3½in x 38⅝in

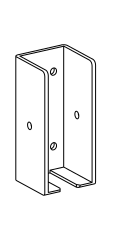
D
Rail Bracket (4)
E
Top Rail (1)
1½in x 3½in x 68¼in
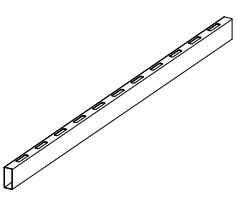
Note: Top rail has picket holes on both sides.
F
Bottom Rail (1)
1½in x 3½in x 68¼in

Note: Bottom rail has picket holes on only 1 side.
G
Pipe Anchor (1)
1⅝in Diameter x 44¾in

H
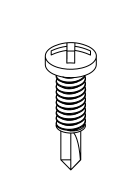
¾in Self-Drilling Stainless Steel Screw (24)
Practice Makes Perfect
Start with one full panel — it's the best way to learn the process. Once you're comfortable, continue driving all remaining pipe anchors into the ground.
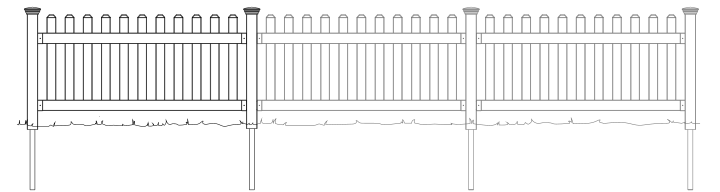
Important: Before driving pipe anchors, check for underground utilities. In the US, call 811 or visit www.call811.com. In Canada, visit www.clickbeforeyoudig.com to find your provincial one-call centre.

Step 1: Set Stringline
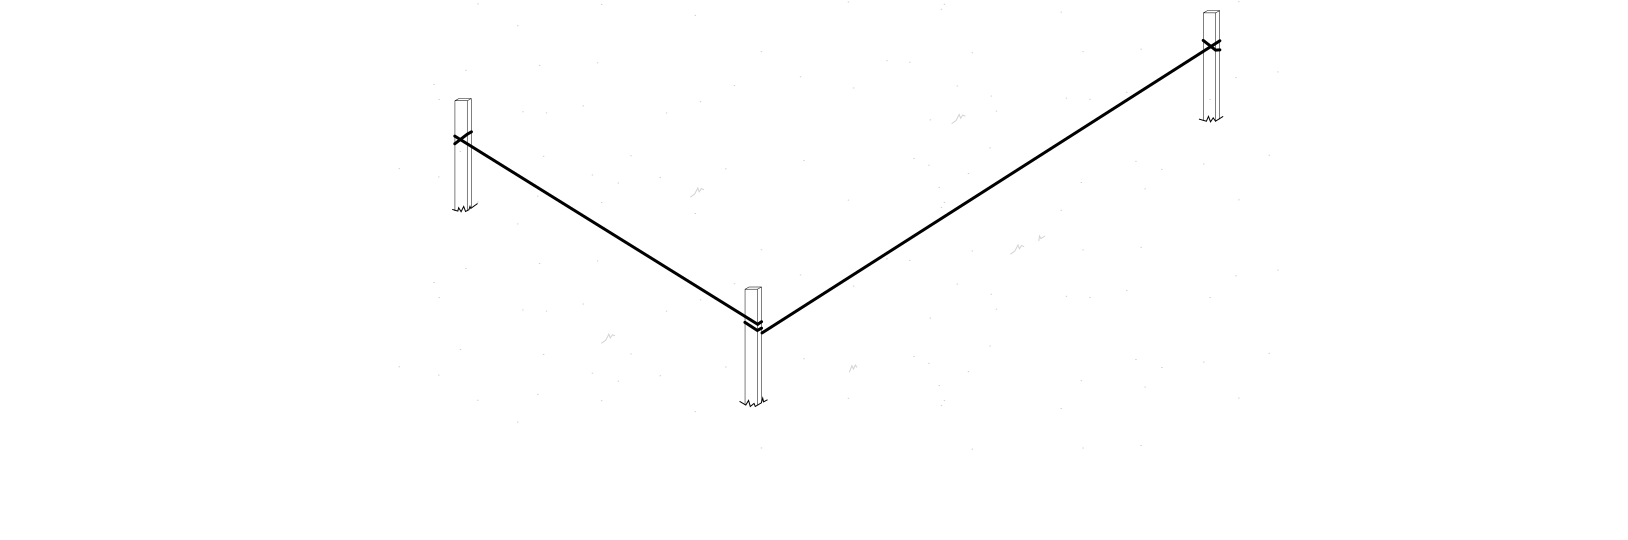
Hammer a stake at each end of every fence run, then tie string between the stakes. This line keeps your pipes aligned as you drive them. Need help? Watch this video.
Step 2: Determine Slope


For slopes exceeding 3–4in per panel, split your panel and purchase an extra post and set of brackets. For uneven yards, stair-step the panels and trim post heights as needed. Check your yard's slope early, as steep grades may require this approach. Your stringline will help determine this.
Step 3: Mark Pipe Locations
Mark the ground every 72in to determine exact pipe locations, measuring center-to-center.

Step 4: Install First Pipe Anchor
Parts Required
G x1
Drive your first pipe anchor (G) into the ground. The bottom of the plastic collar should sit just above ground level when finished. Drive the anchor as level as possible, checking level in both directions roughly every 6in. After about 18in, the trajectory is set and cannot be manually corrected.

Step 5: Install Second Pipe Anchor
Parts Required
G x1
Identify the location of your second pipe anchor (G) and drive it into the ground. The distance must be 72in center to center from the first pipe anchor.

Step 6: Install Posts
Parts Required
C x1
Install post (C) with the tabs at the top and slide it down over the pipe anchor (G). Place a wood block on top of the post to protect it, then pound the post 3–4in into the ground. This keeps the post from twisting on the pipe anchor. Repeat for the second post.
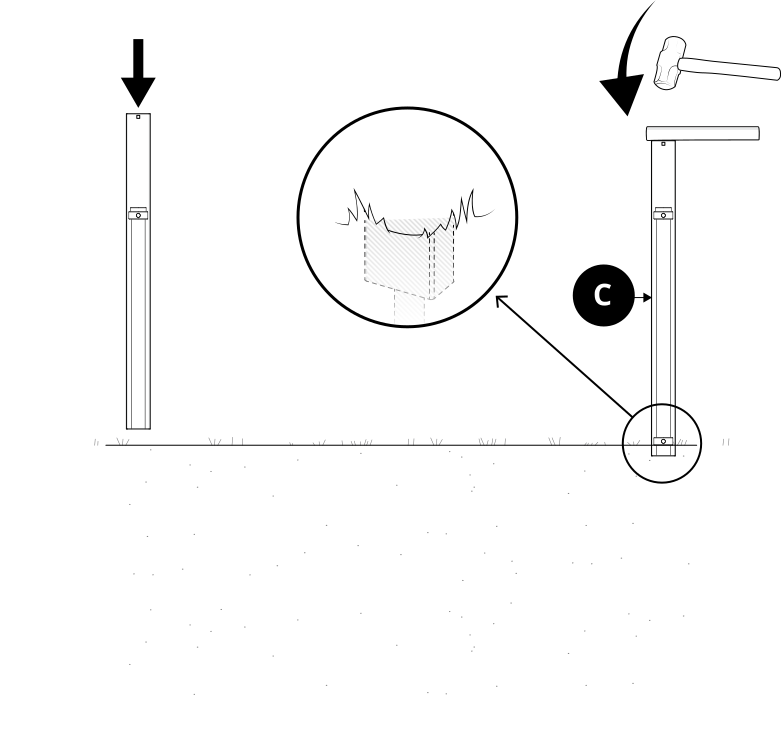
Optional: Secure Post to Pipe Anchor
Secure the post to the pipe anchor with (2) 1in self-drilling hex steel screws (not included). This is worth doing if you're concerned about posts being pulled out of the ground — otherwise, move on to Step 7.

Step 7: Install Bottom Rail Bracket (First Post)
Parts Required
D x1 H x4
Install one rail bracket (D) on the first post using (4) ¾in self-drilling stainless steel screws (H). The bracket should sit approximately 2in off the ground.

Step 8: Align Bottom Rail Bracket (Second Post)
Parts Required
D x1 F x1
Slide a rail bracket (D) over one end of the bottom rail (F) and rest the rail into the bracket installed in Step 7. Place a level on top of the bottom rail to determine the correct height for the opposing bracket and mark that height on the second post. Temporarily remove the bottom rail.

Step 9: Install Bottom Rail Bracket (Second Post)
Parts Required
D x1 H x4
Using your marked location, secure a rail bracket (D) to the second post with (4) ¾in self-drilling stainless steel screws (H).

Installing brackets at a 90° angle?
Place the rail bracket on the post and mark the four hole locations. Pre-drill using a ⅛in drill bit for steel (not included), then secure with (4) ¾in self-drilling stainless steel screws.
Step 10: Secure Bottom Rail
Parts Required
F x1 H x4
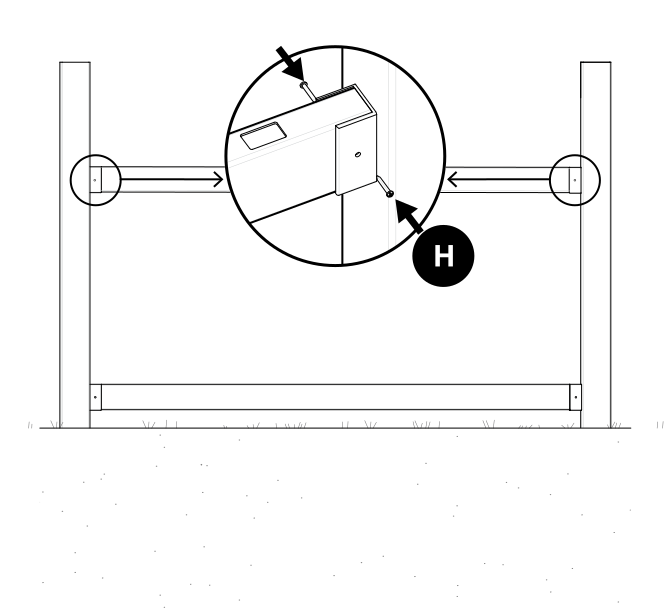
Insert the bottom rail (F) back into both rail brackets and secure in place with (2) ¾in self-drilling stainless steel screws (H) per bracket.

Step 11: Install Top Rail Brackets
Parts Required
D x2 H x8
Measure 18½in up from the top of the bottom rail bracket and mark the position for the top rail brackets on each post. Install one rail bracket (D) on each post using (4) ¾in self-drilling stainless steel screws (H) per bracket. Confirm that the bottom and top brackets are aligned to properly receive the top rail.


Step 12: Install Top Rail
Parts Required
E x1 H x4
Slide the top rail (E) into both top rail brackets and secure using (2) ¾in self-drilling stainless steel screws (H) per bracket. Note: The top rail has picket holes on both sides.
Step 13: Install Pickets
Parts Required
B x11
Insert all (11) pickets (B) through the top rail, pushing each one fully down until it locks into the bottom rail.

Step 14: Post Caps
Parts Required
A x1
Press the post cap (A) firmly onto each post until it locks in place. For a permanent hold, secure with PVC glue (not included).

Need Help?
- Email: hmmm@wambamfence.com
- Phone: 704-892-5222 or 877-778-5733
- Text: 704-892-5222
